Welcome to Day 4 – the final day of the Matilda Saddle Bag Sewalong.
Today is all about finishing our bags off.
Today’s blog post covers how to make an adjustable crossbody strap, adding a tassel to your finished bag for that extra WOW factor and some suggestions on how to take great bag photos of your completed design.
- Follow the pattern instructions on how to make an adjustable shoulder strap.
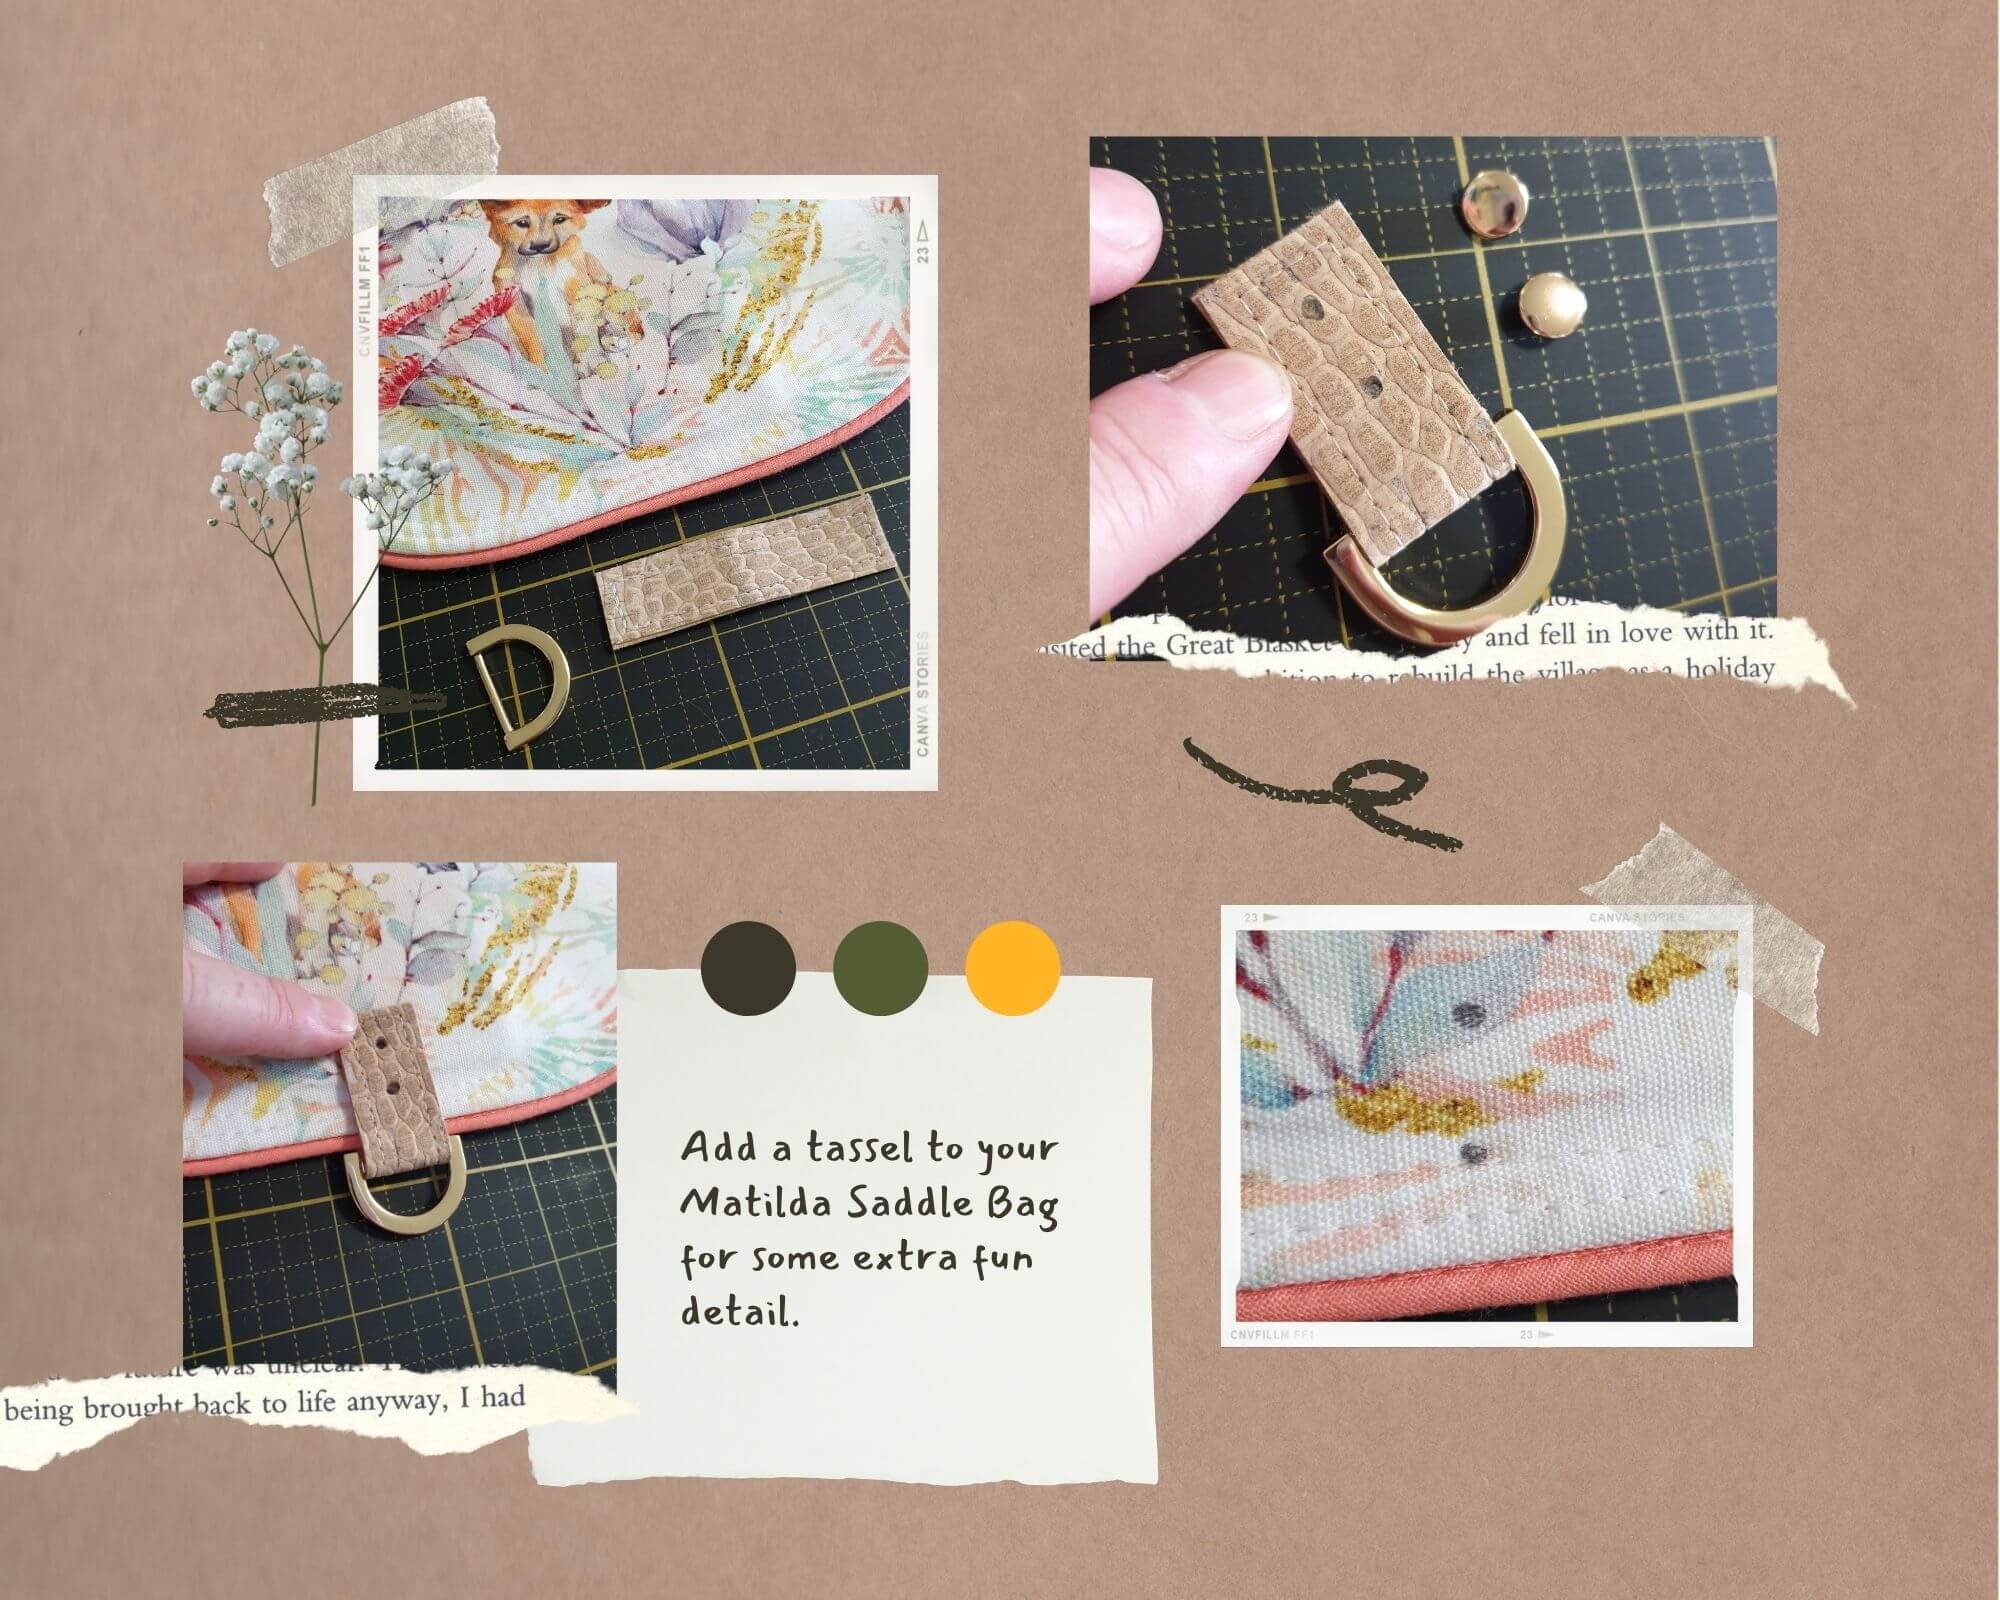
- If you are adding a tassel to the flap of your completed flap, here is the process.
- Cut 2 x cork/leather/vinyl 1″ Wide x 6″ L, place wrong sides together and sew all 4 sides.
- Slide the D ring onto the cork piece and fold in half.
- Mark where you would like the 2 x rivets to sit.
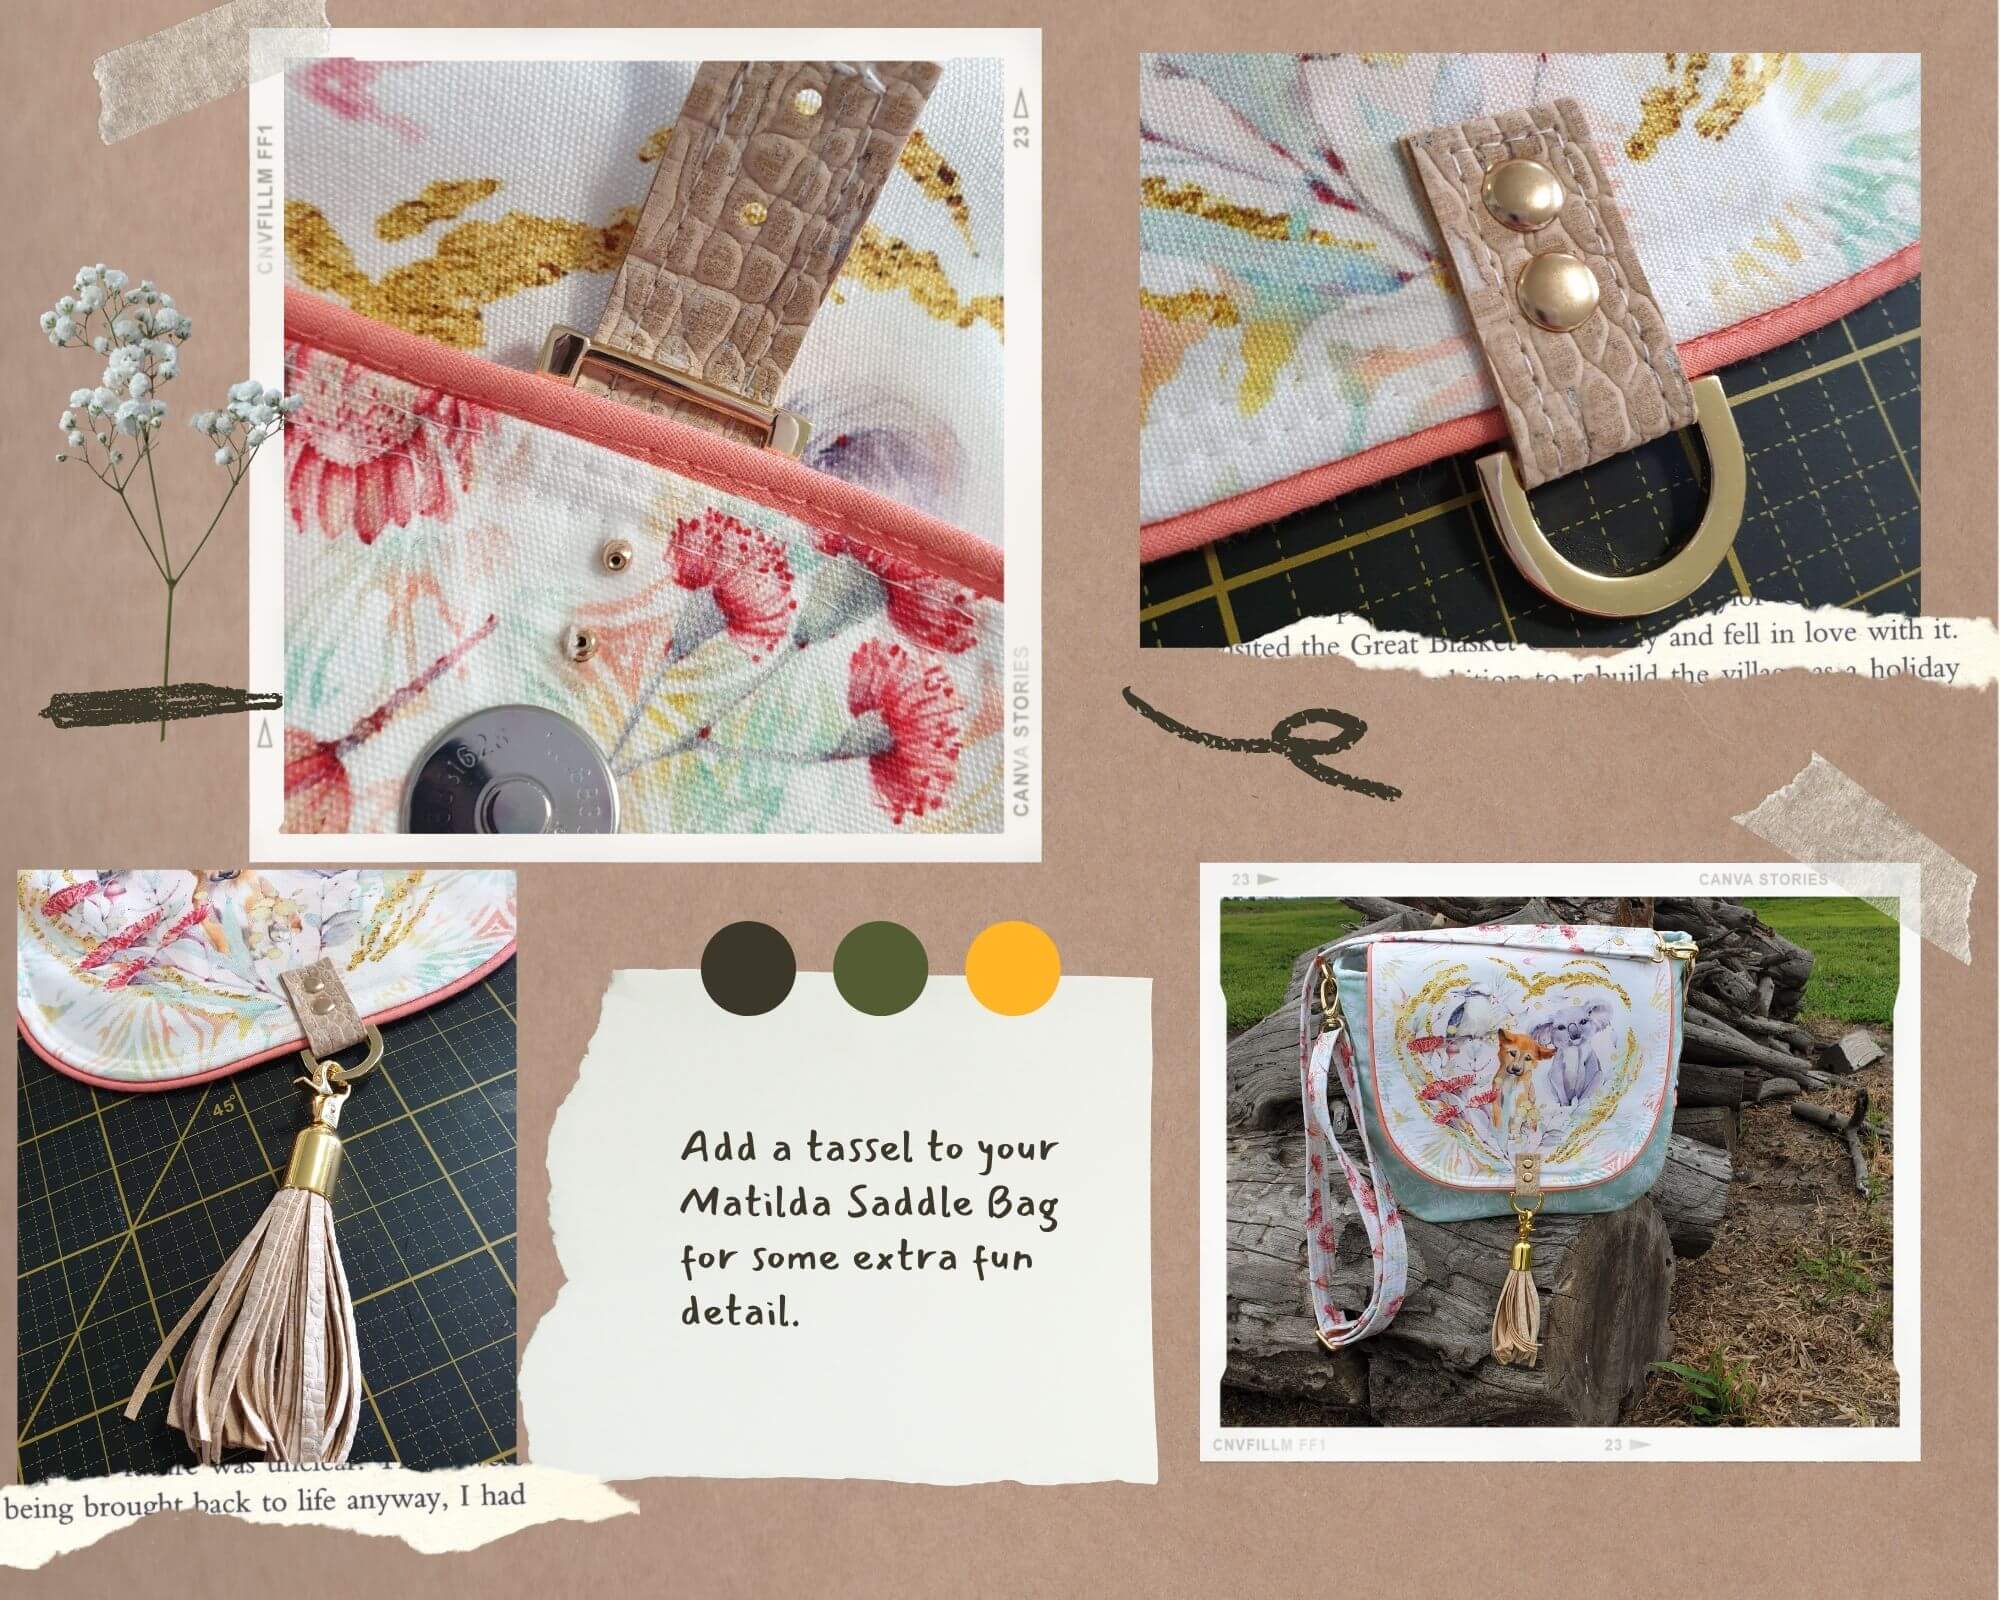
- Use a belt punch to make 2 holes in the cork, lay the tassel connector on the flap of the bag and mark the holes then punch through the flap.
- Fray stop the holes on the flap to prevent fraying.
- Line the cork and flap holes up and insert rivets.
- Set the rivets.
- Make the tassel and attach! And you’re DONE!
Here is a video on how I make tassels.

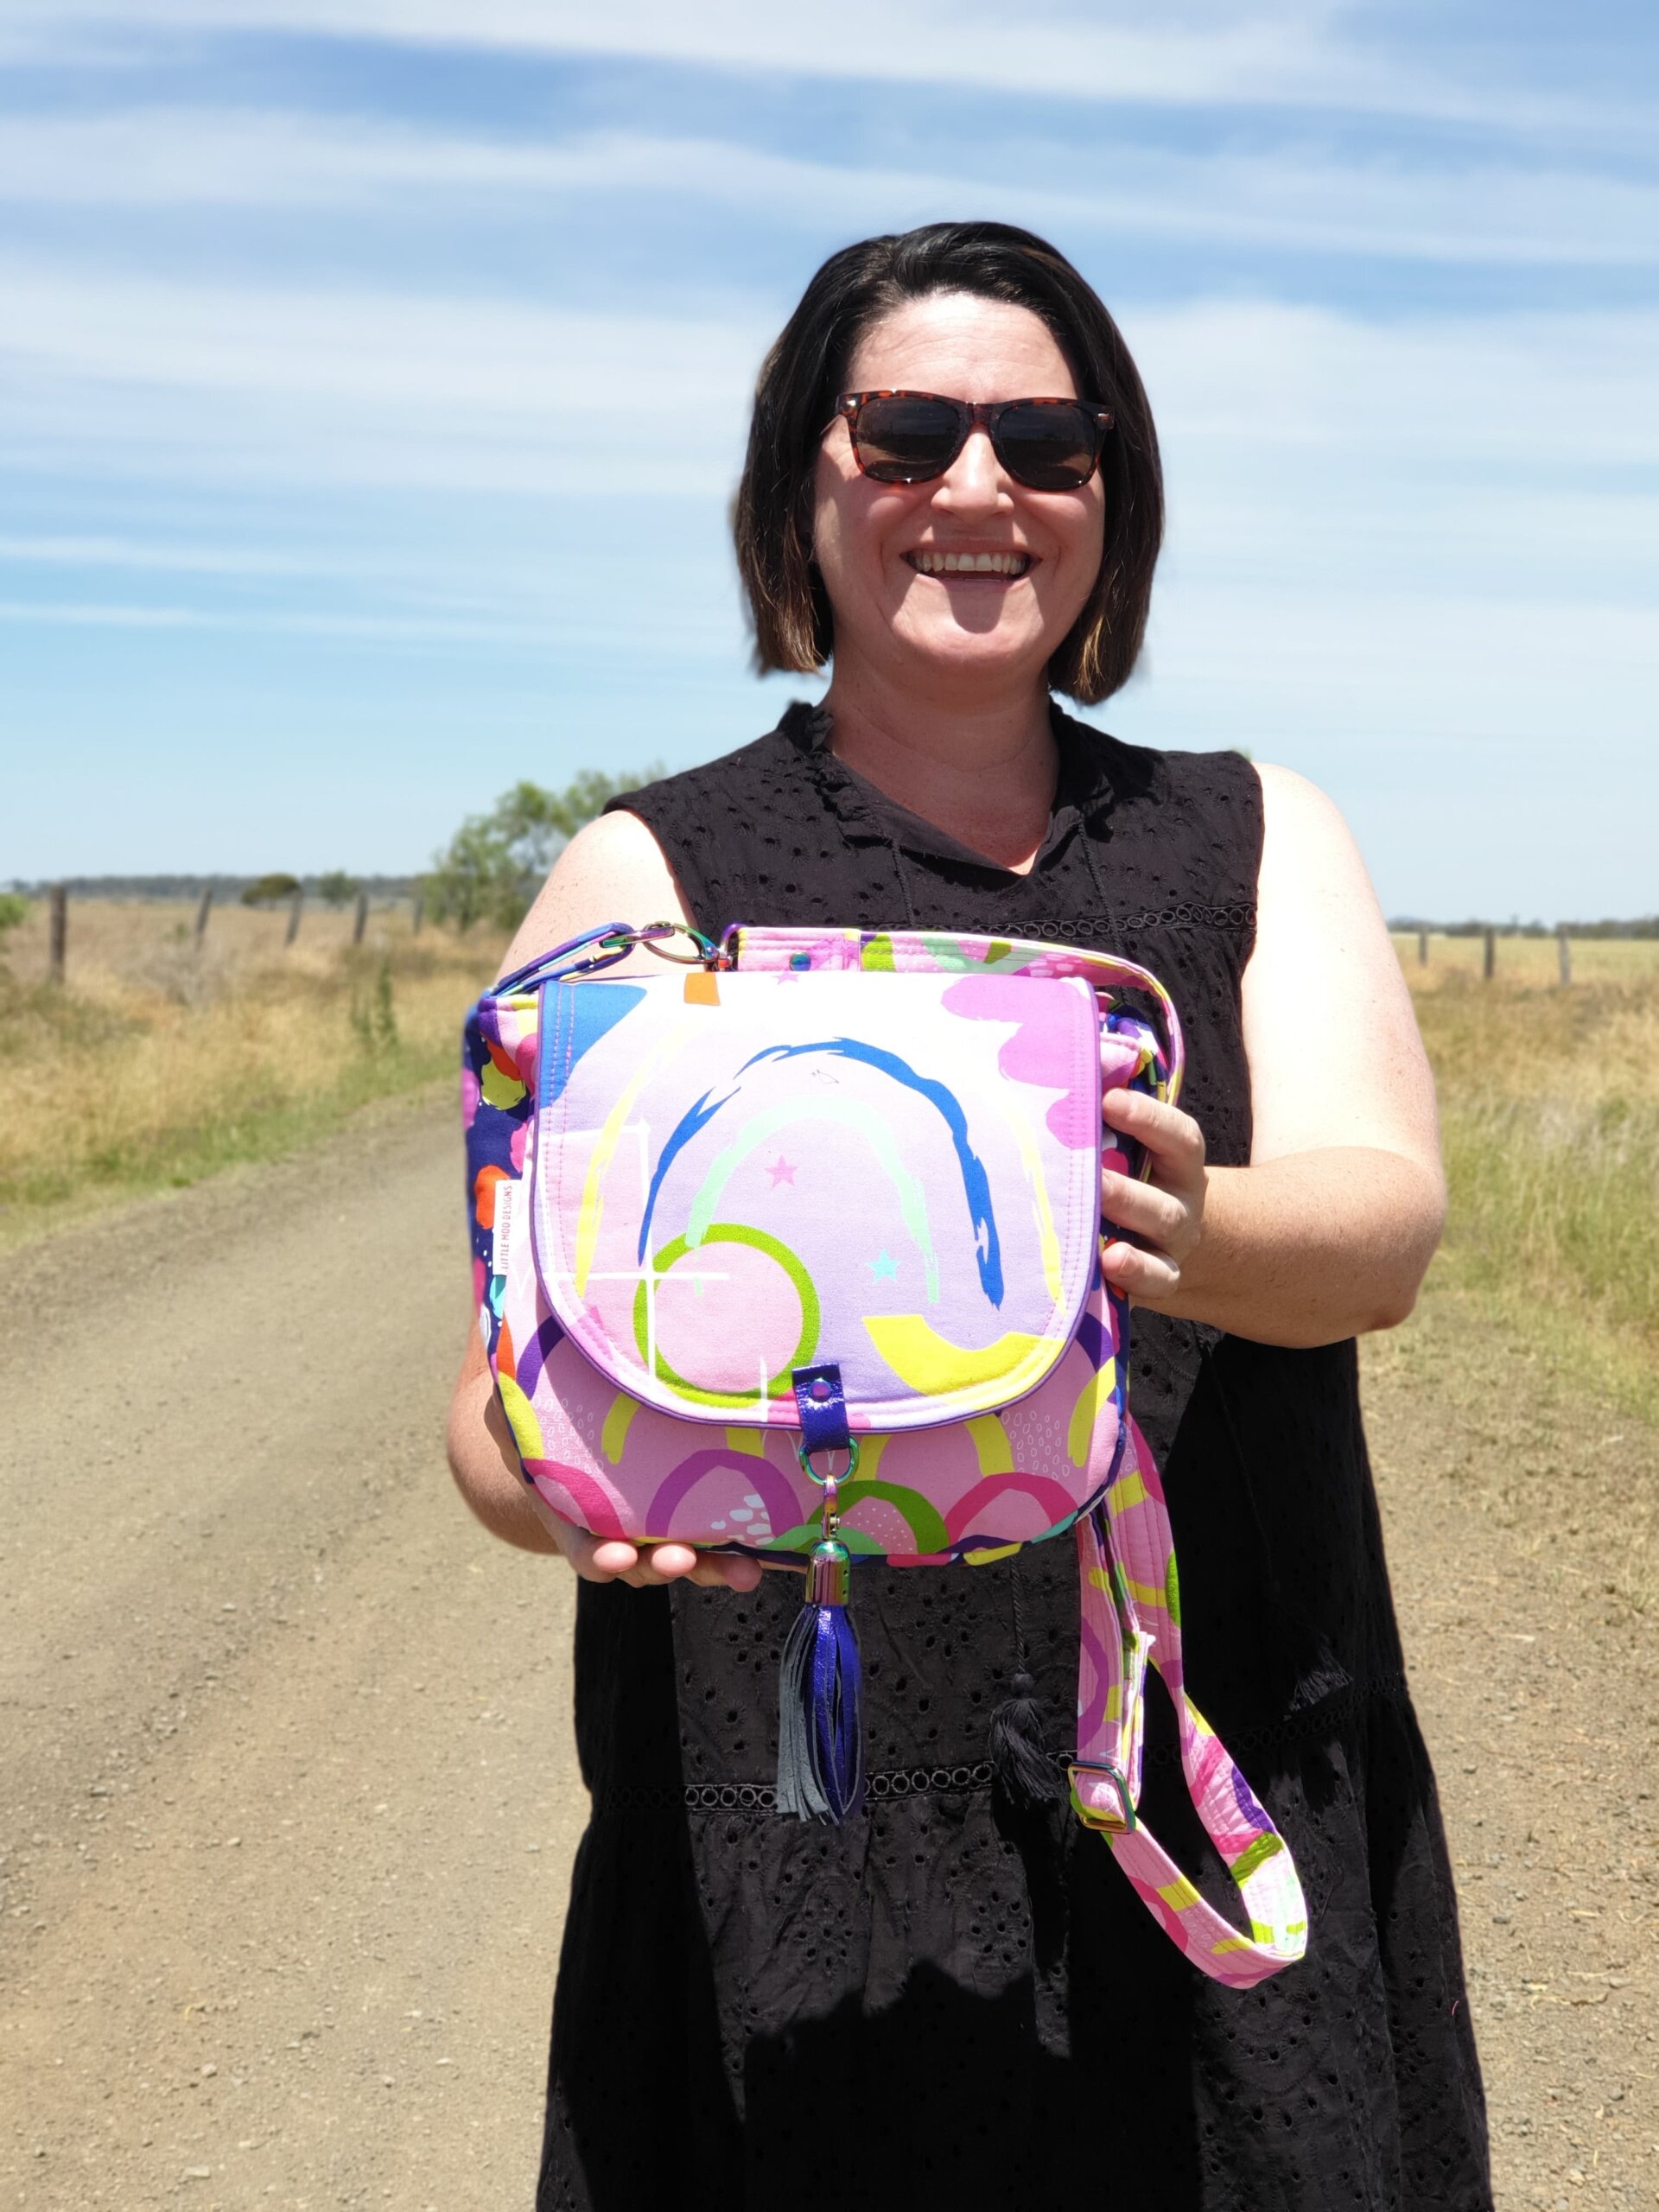
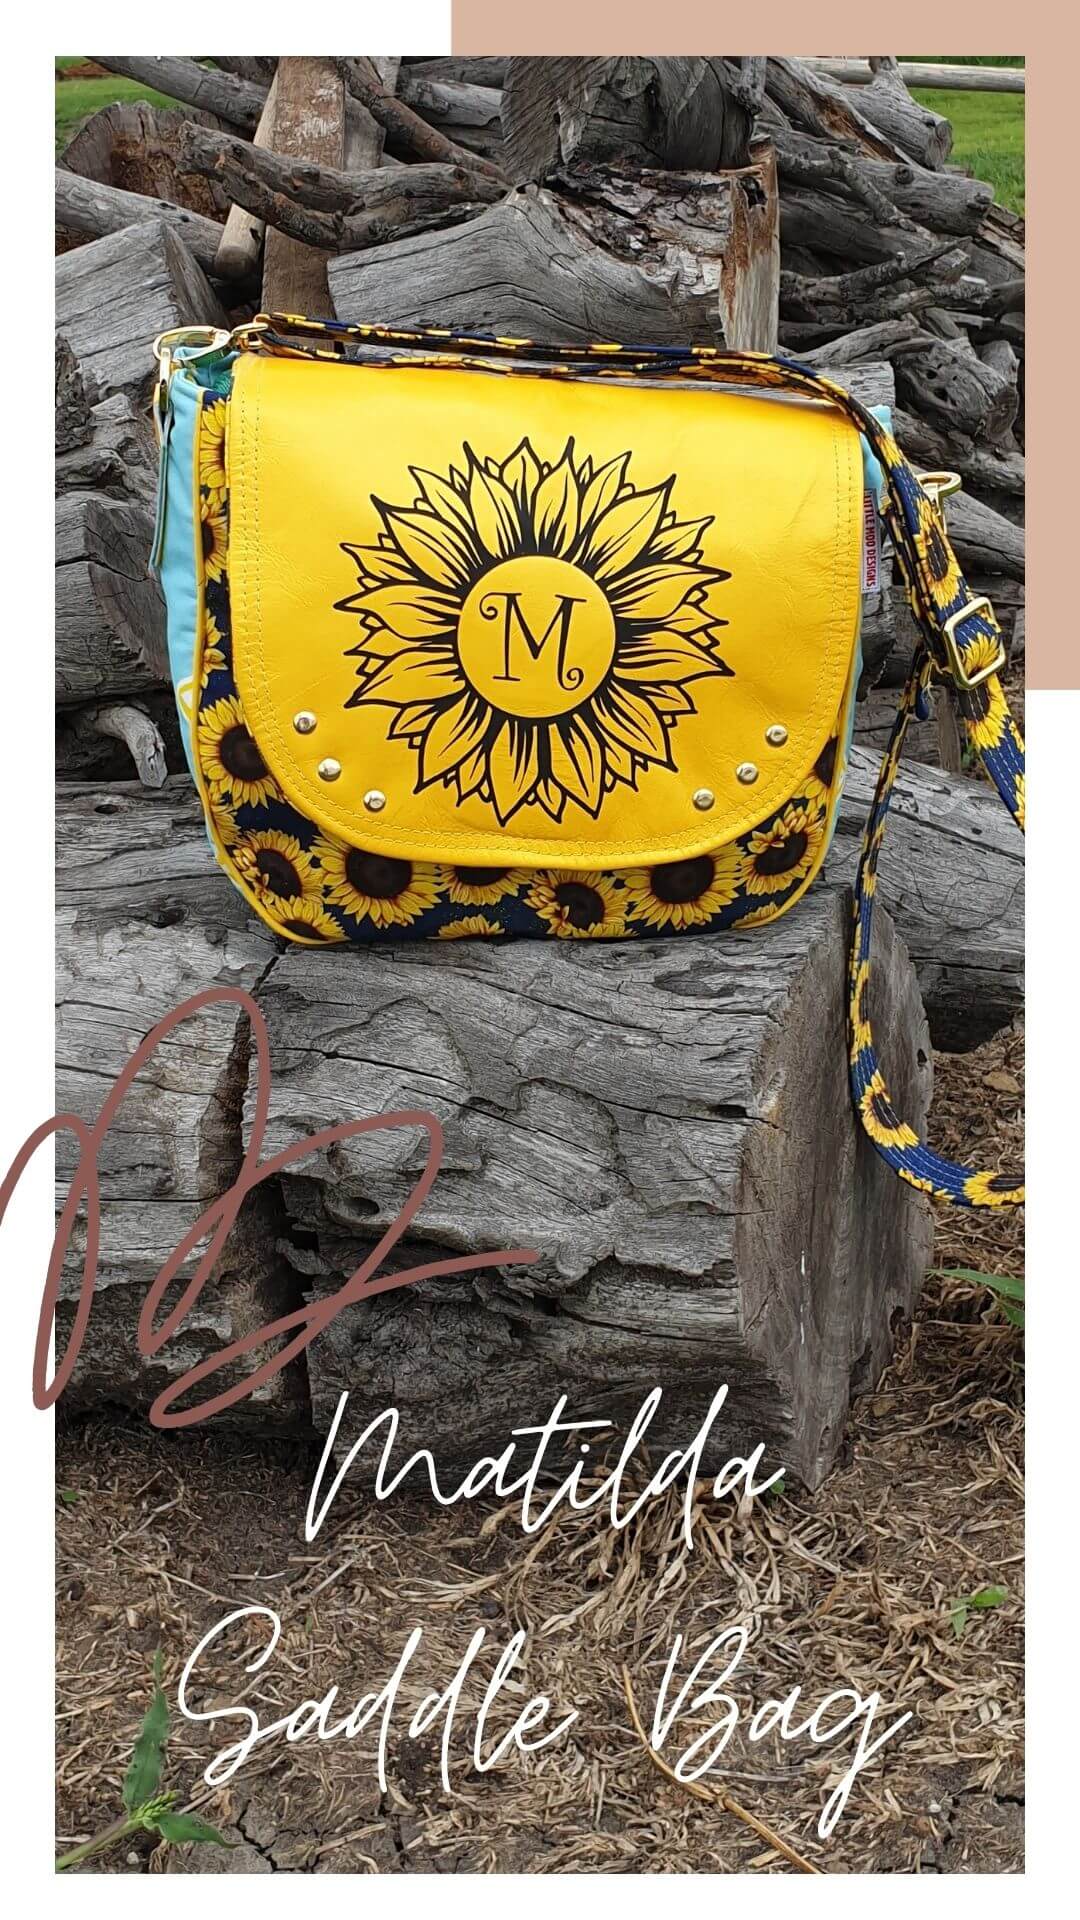
Here are some tips on how to get great photos of your finished bags:
- Stuff your bag with towels/paper to make it sit nice and full
- Give your bag a final iron so it is wrinkle free
- Outdoor pics are often best taken in the early morning or late afternoon, avoiding direct sunlight
- Make sure the sun is behind your bag
- Use a natural background to let your bag be the feature stand out
- Get down low, don’t shoot your photos from above your bag, you will get better “perspective” by being on the same level as your bag (shoot front on rather than from above looking down)
- Take photos from all different angles to show the beautiful features of your bag
- If you want photos of you wearing your bag, bribe one of your kids to help. Kids I find take fabulous photos and it can be a whole heap of fun to experiment with different angles and looks!
- Have fun! And remember you can always edit your pics too if you need to cut out backgrounds or change the colours etc.
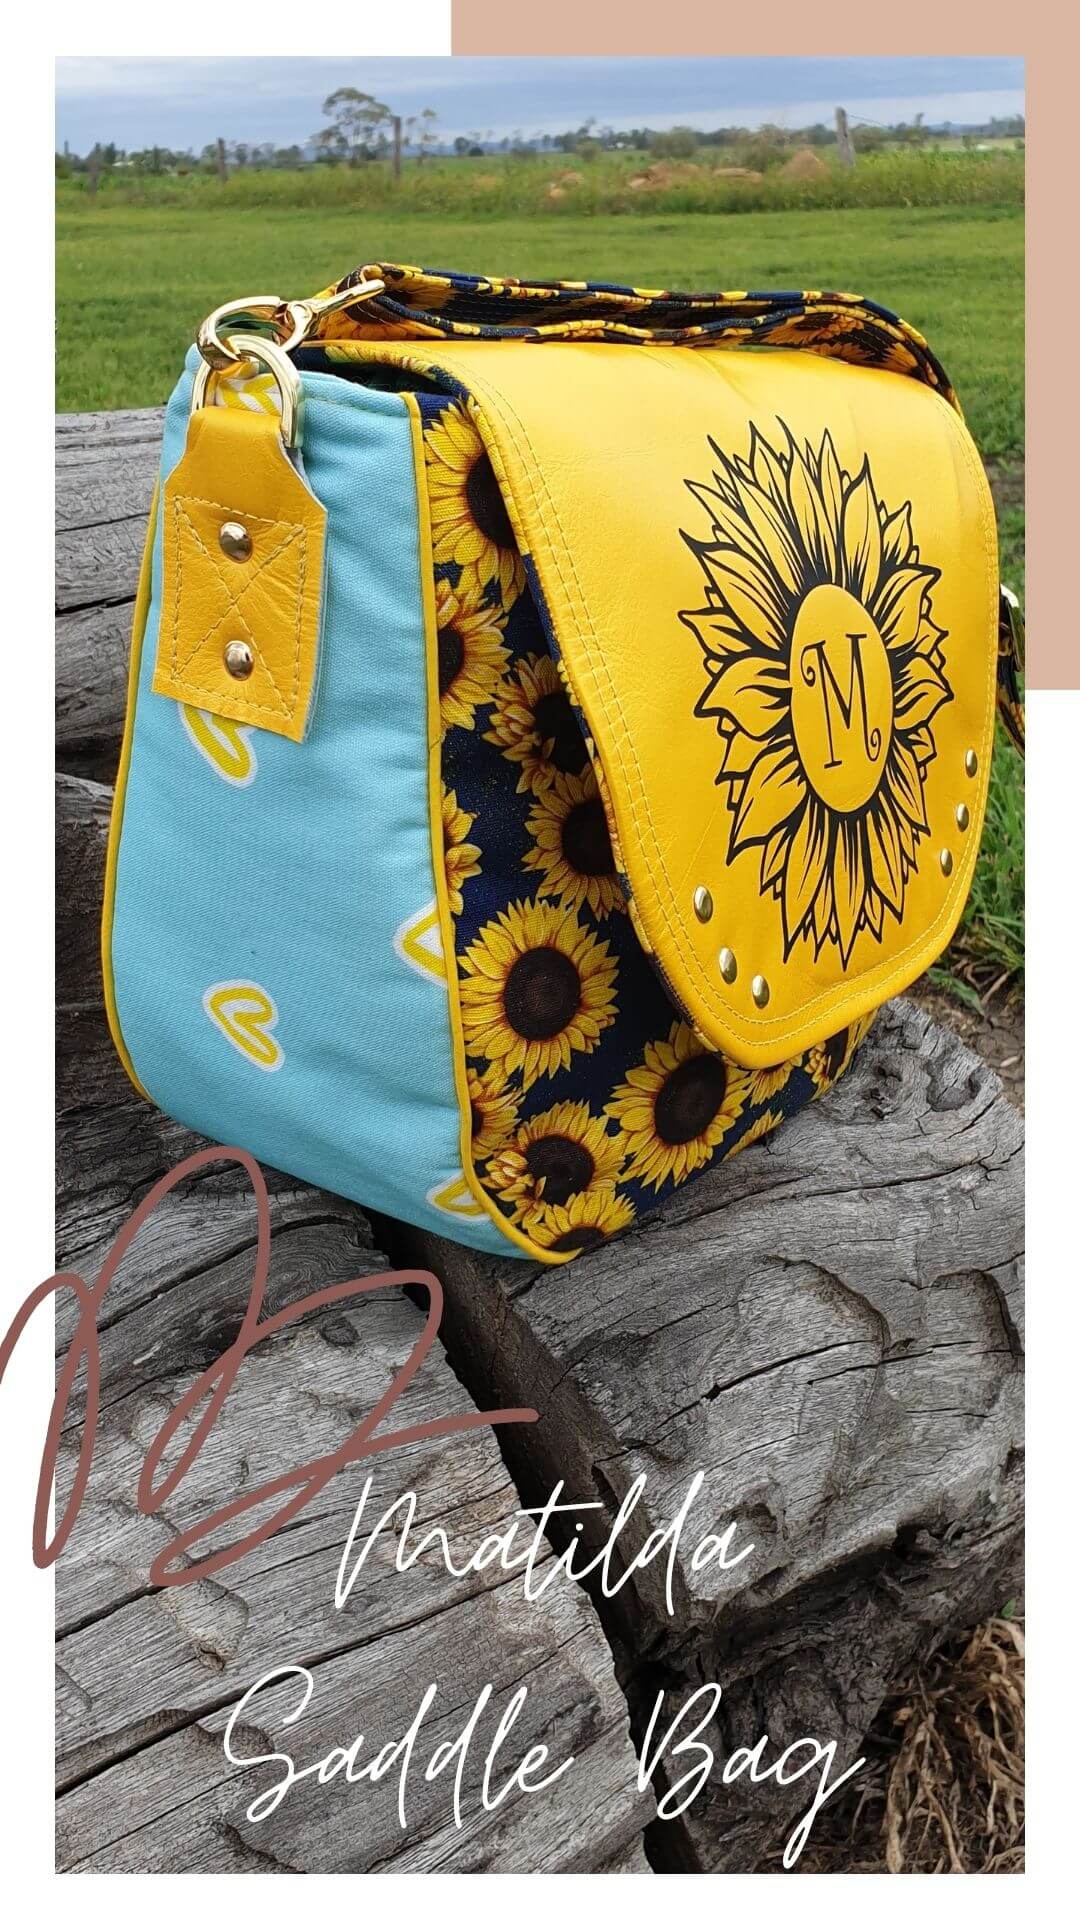

And that my friends, is the end of the Matilda Saddle Bag Sewalong!
I hope you have had as much fun as I have, learnt some new skills and made a new bag or two along this journey.
We would love to see pictures of your progress during the sewalong, share your pics on instagram and Facebook and use the #matildasaddlebag and #matildasaddlebagsewalong
I look forward to seeing all of your beautiful Matilda Saddle Bags!
Happy Sewing,
Kylie.