Hi everyone,
Thankyou so much for the amazing response to my most recent pattern release – The Maker’s Loot Bag!
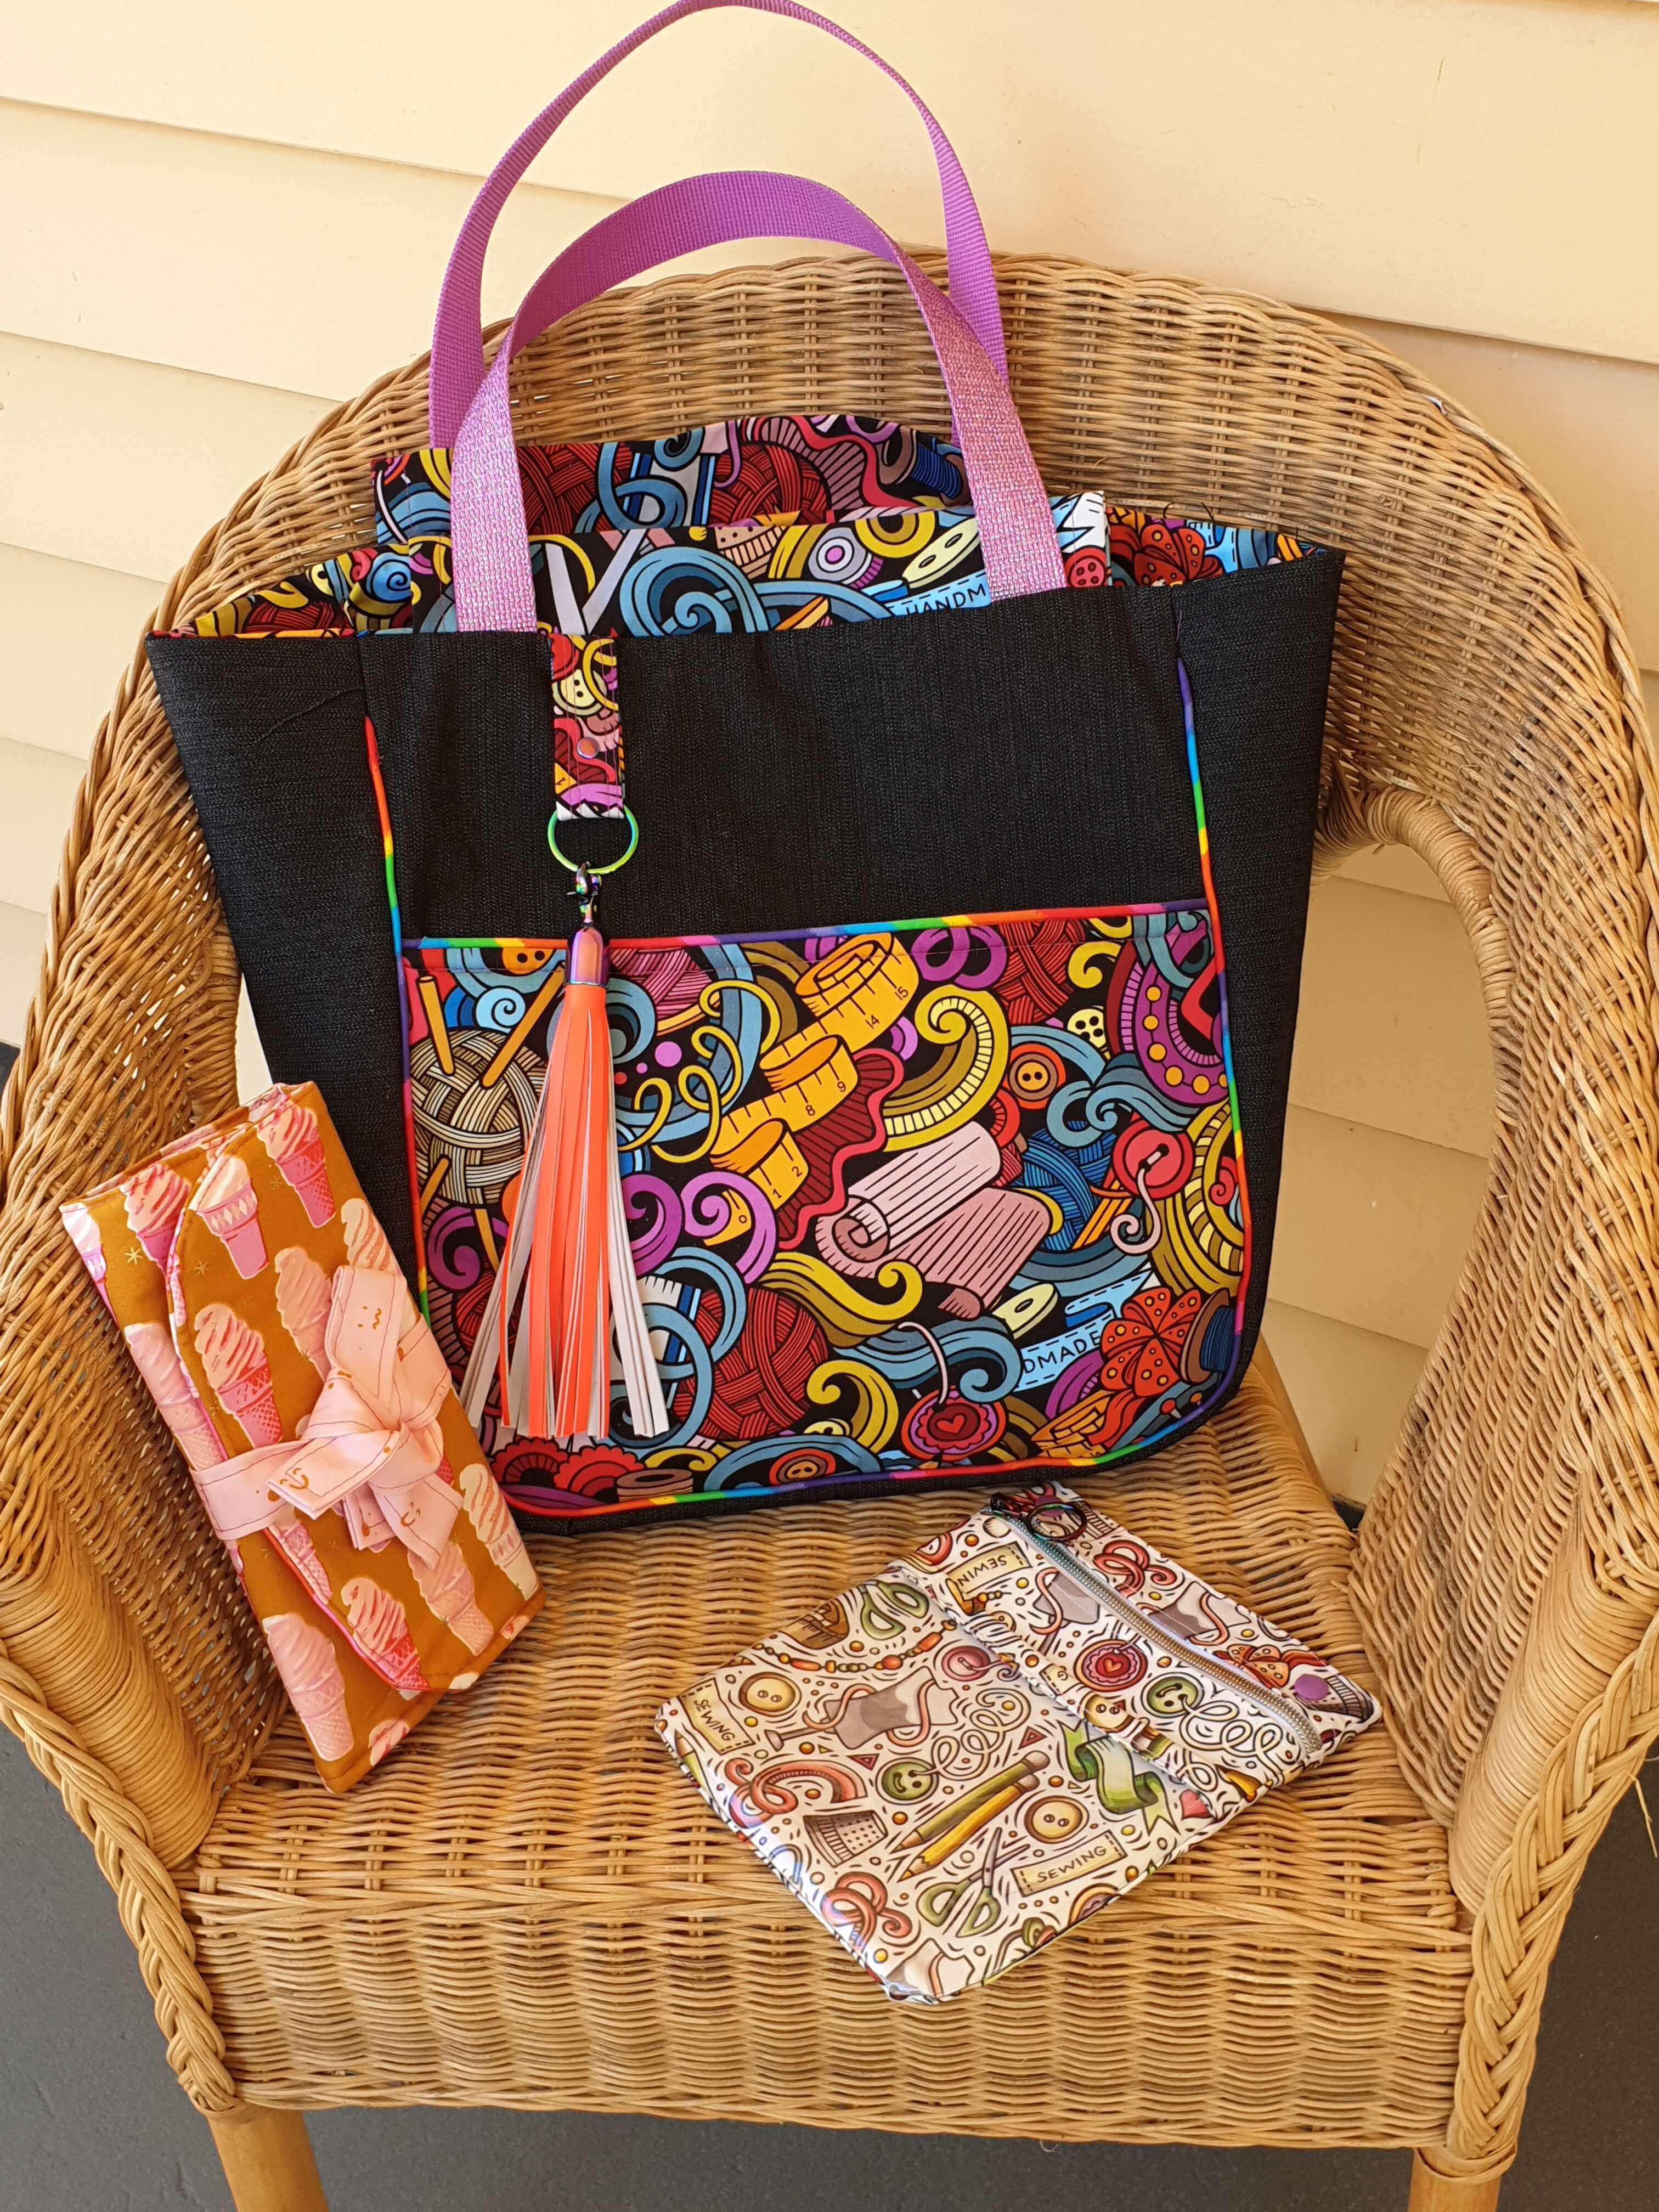
Maker’s Loot Bag made by Stacey Newham.
It seems you guys were after the perfect bag to take to your sewing classes and retreats and The Maker’s Loot Bag has been ideal for that. I have loved seeing all of your makes so far, please keep sharing.
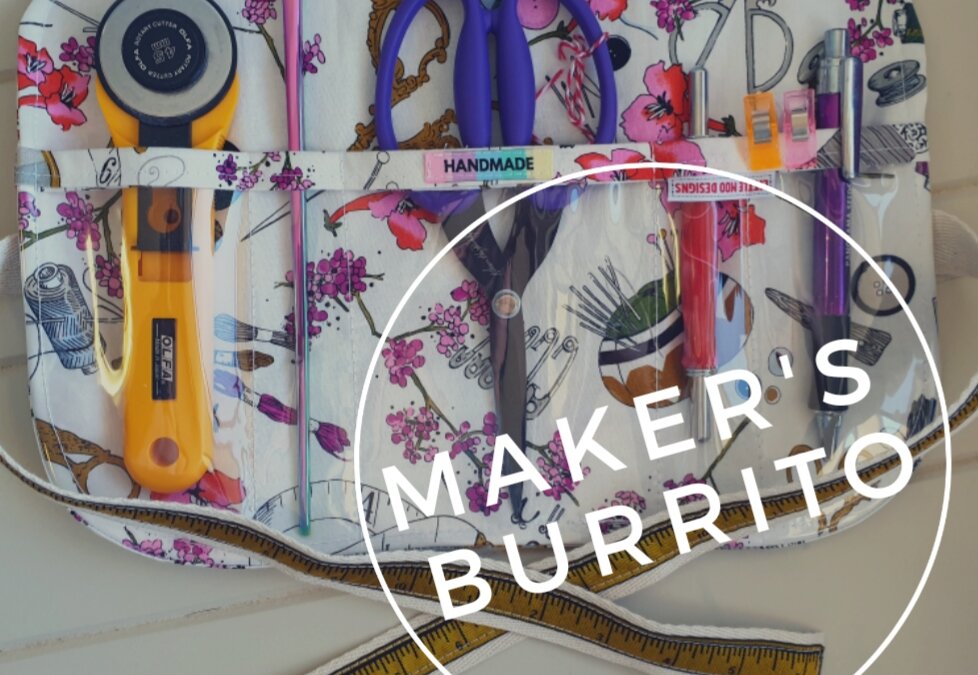
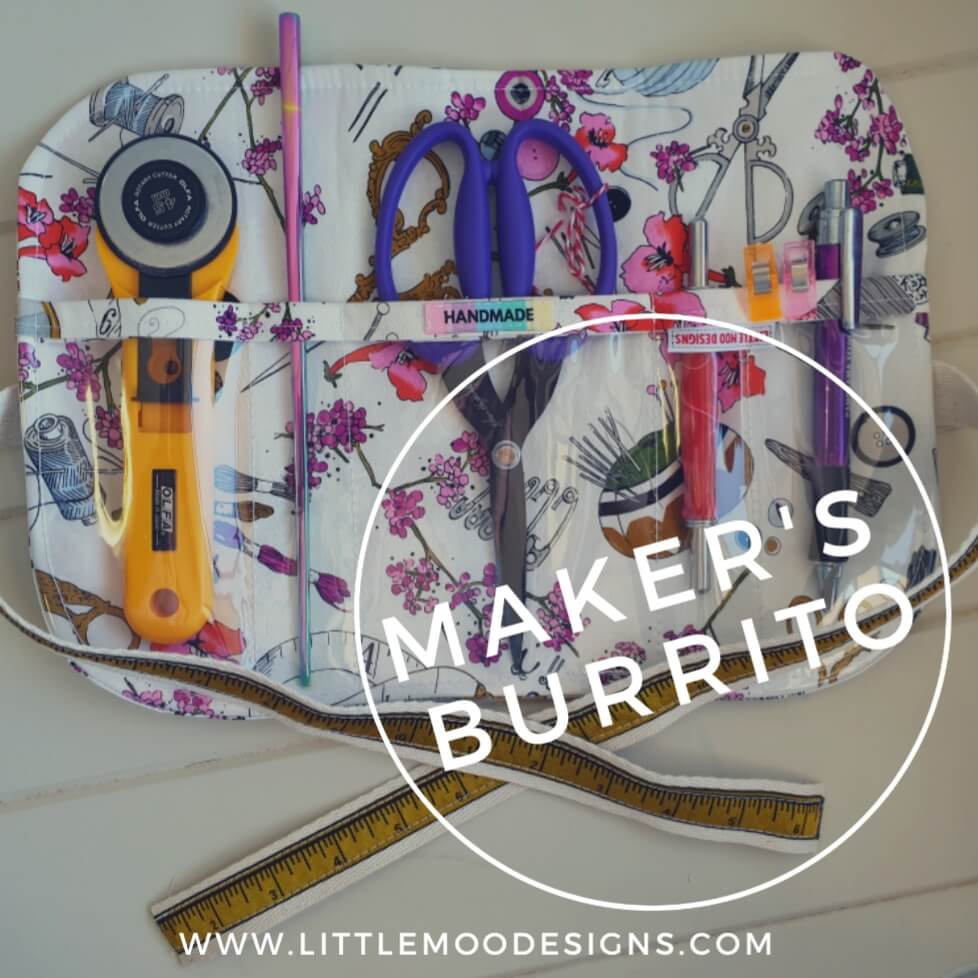
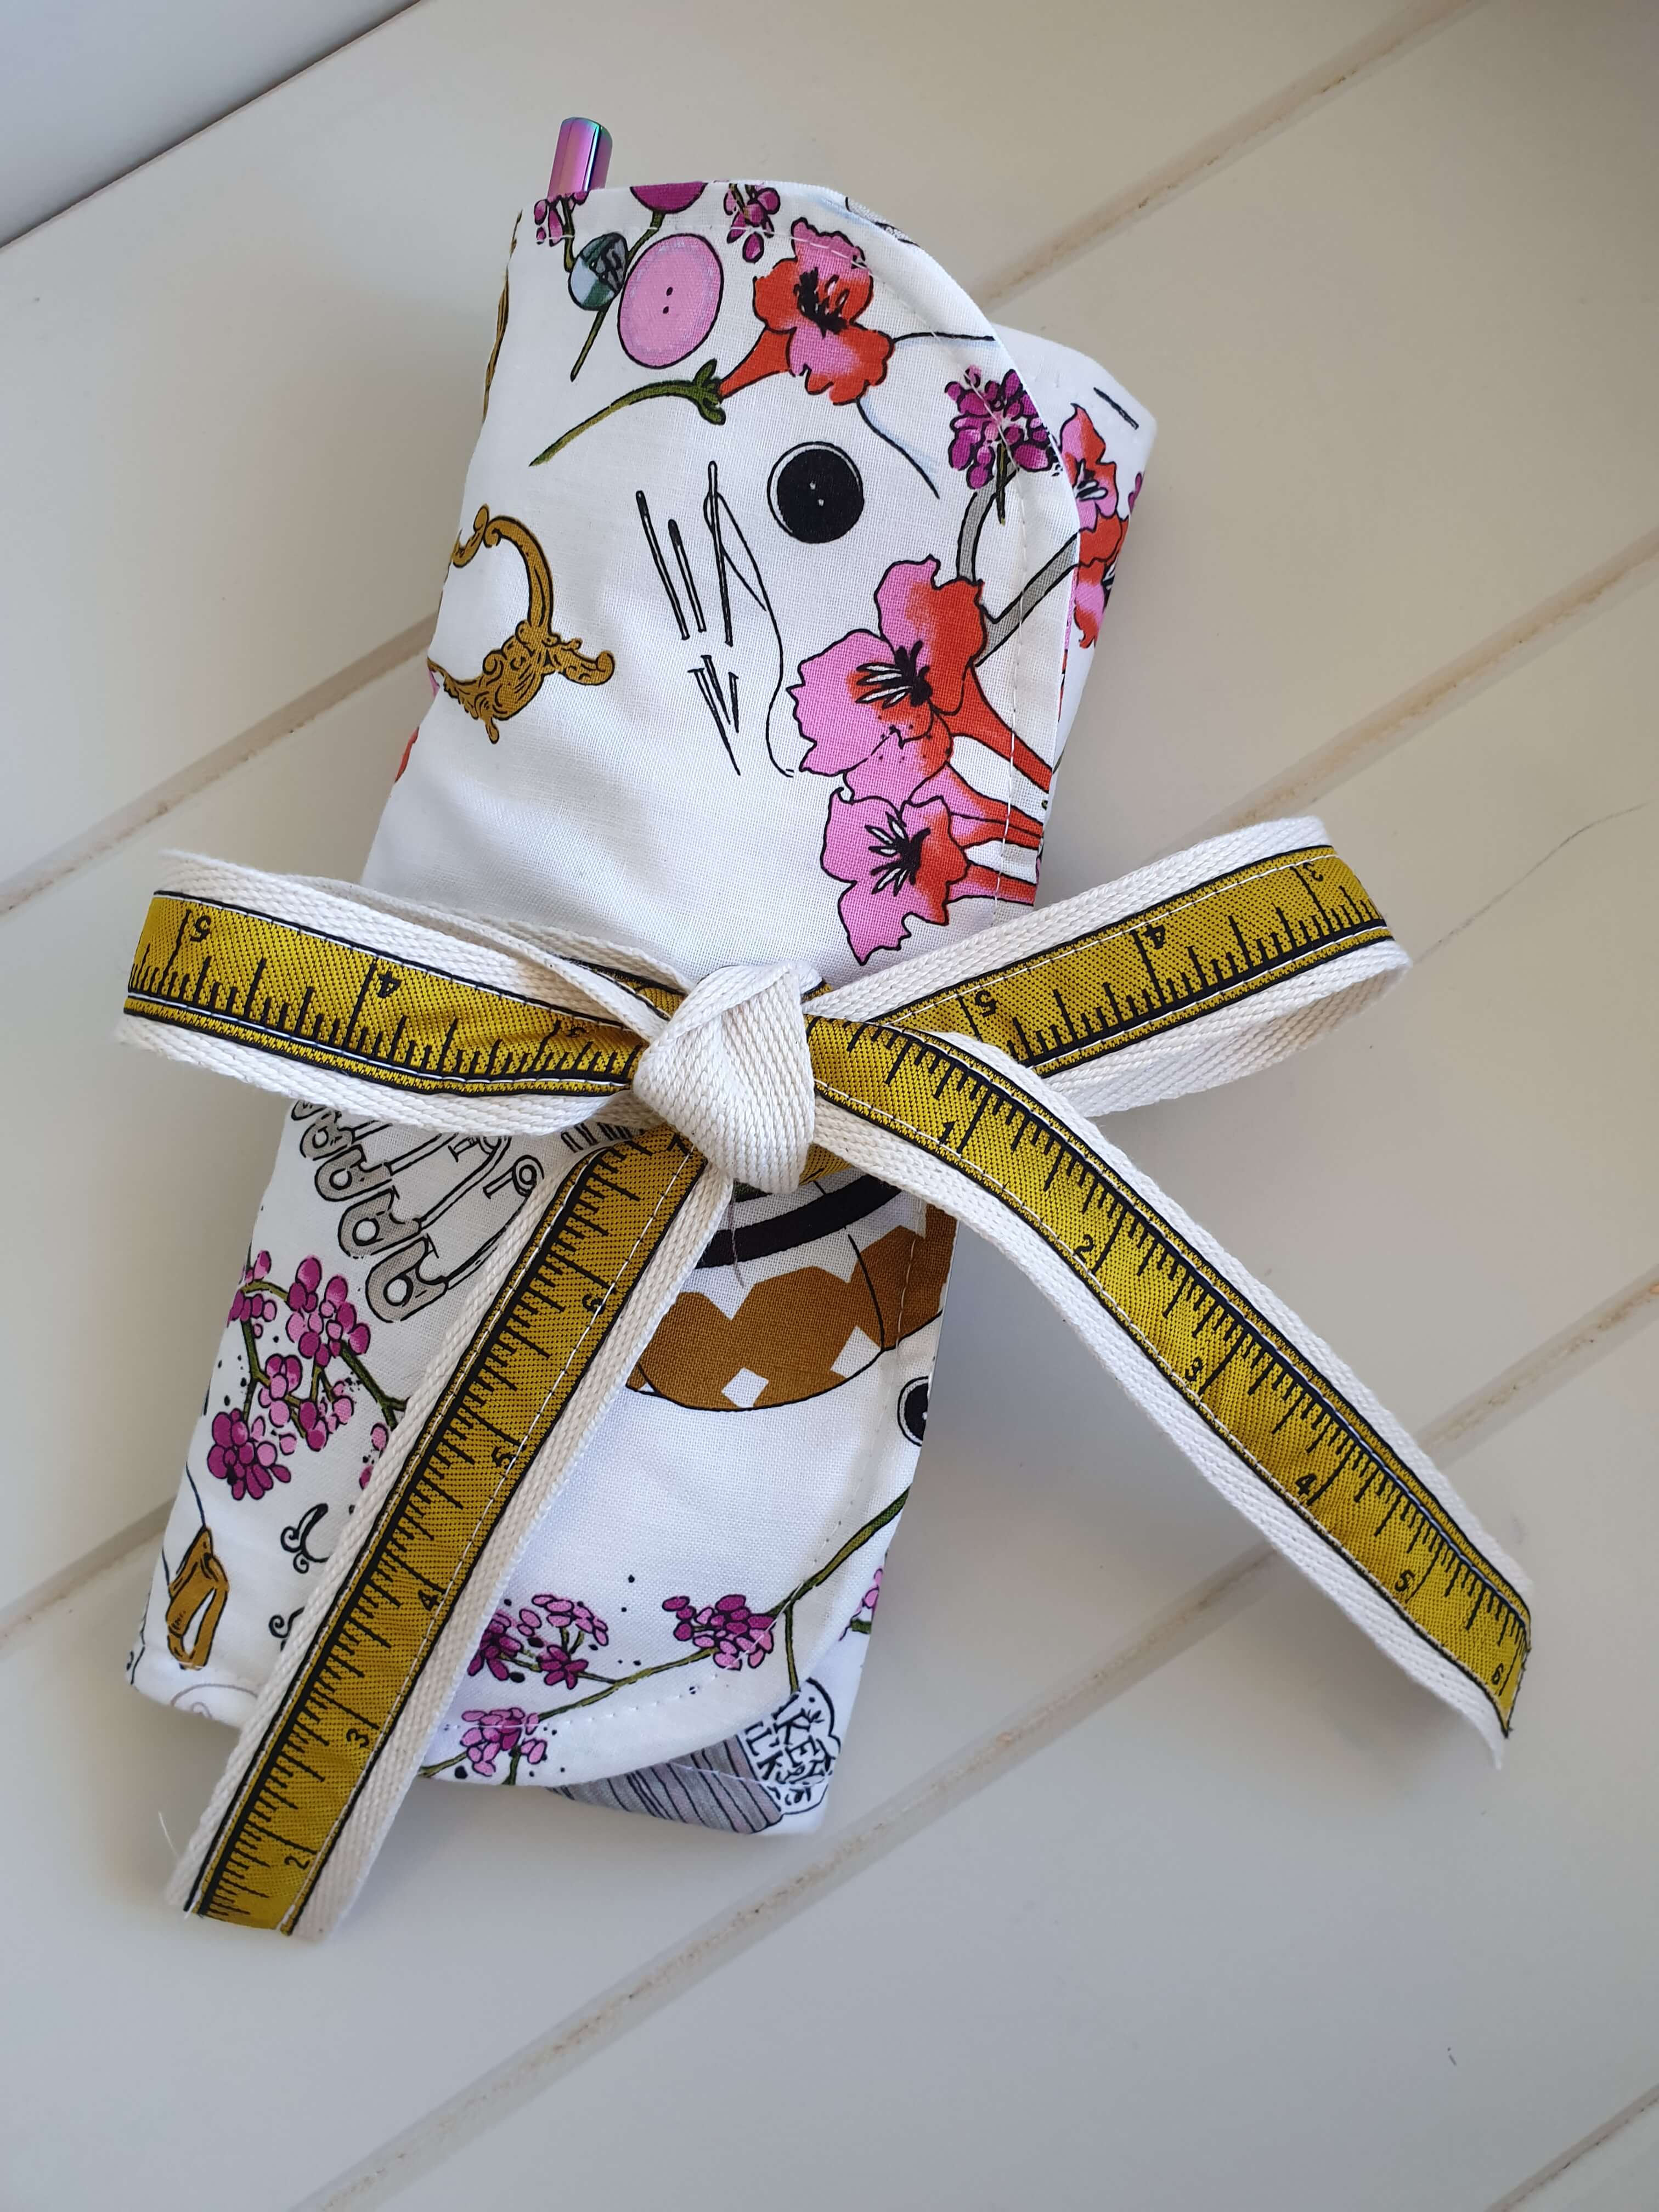
In today’s blog post you will find a free tutorial for an add on for The Maker’s Loot Bag…..The Maker’s Burrito!!
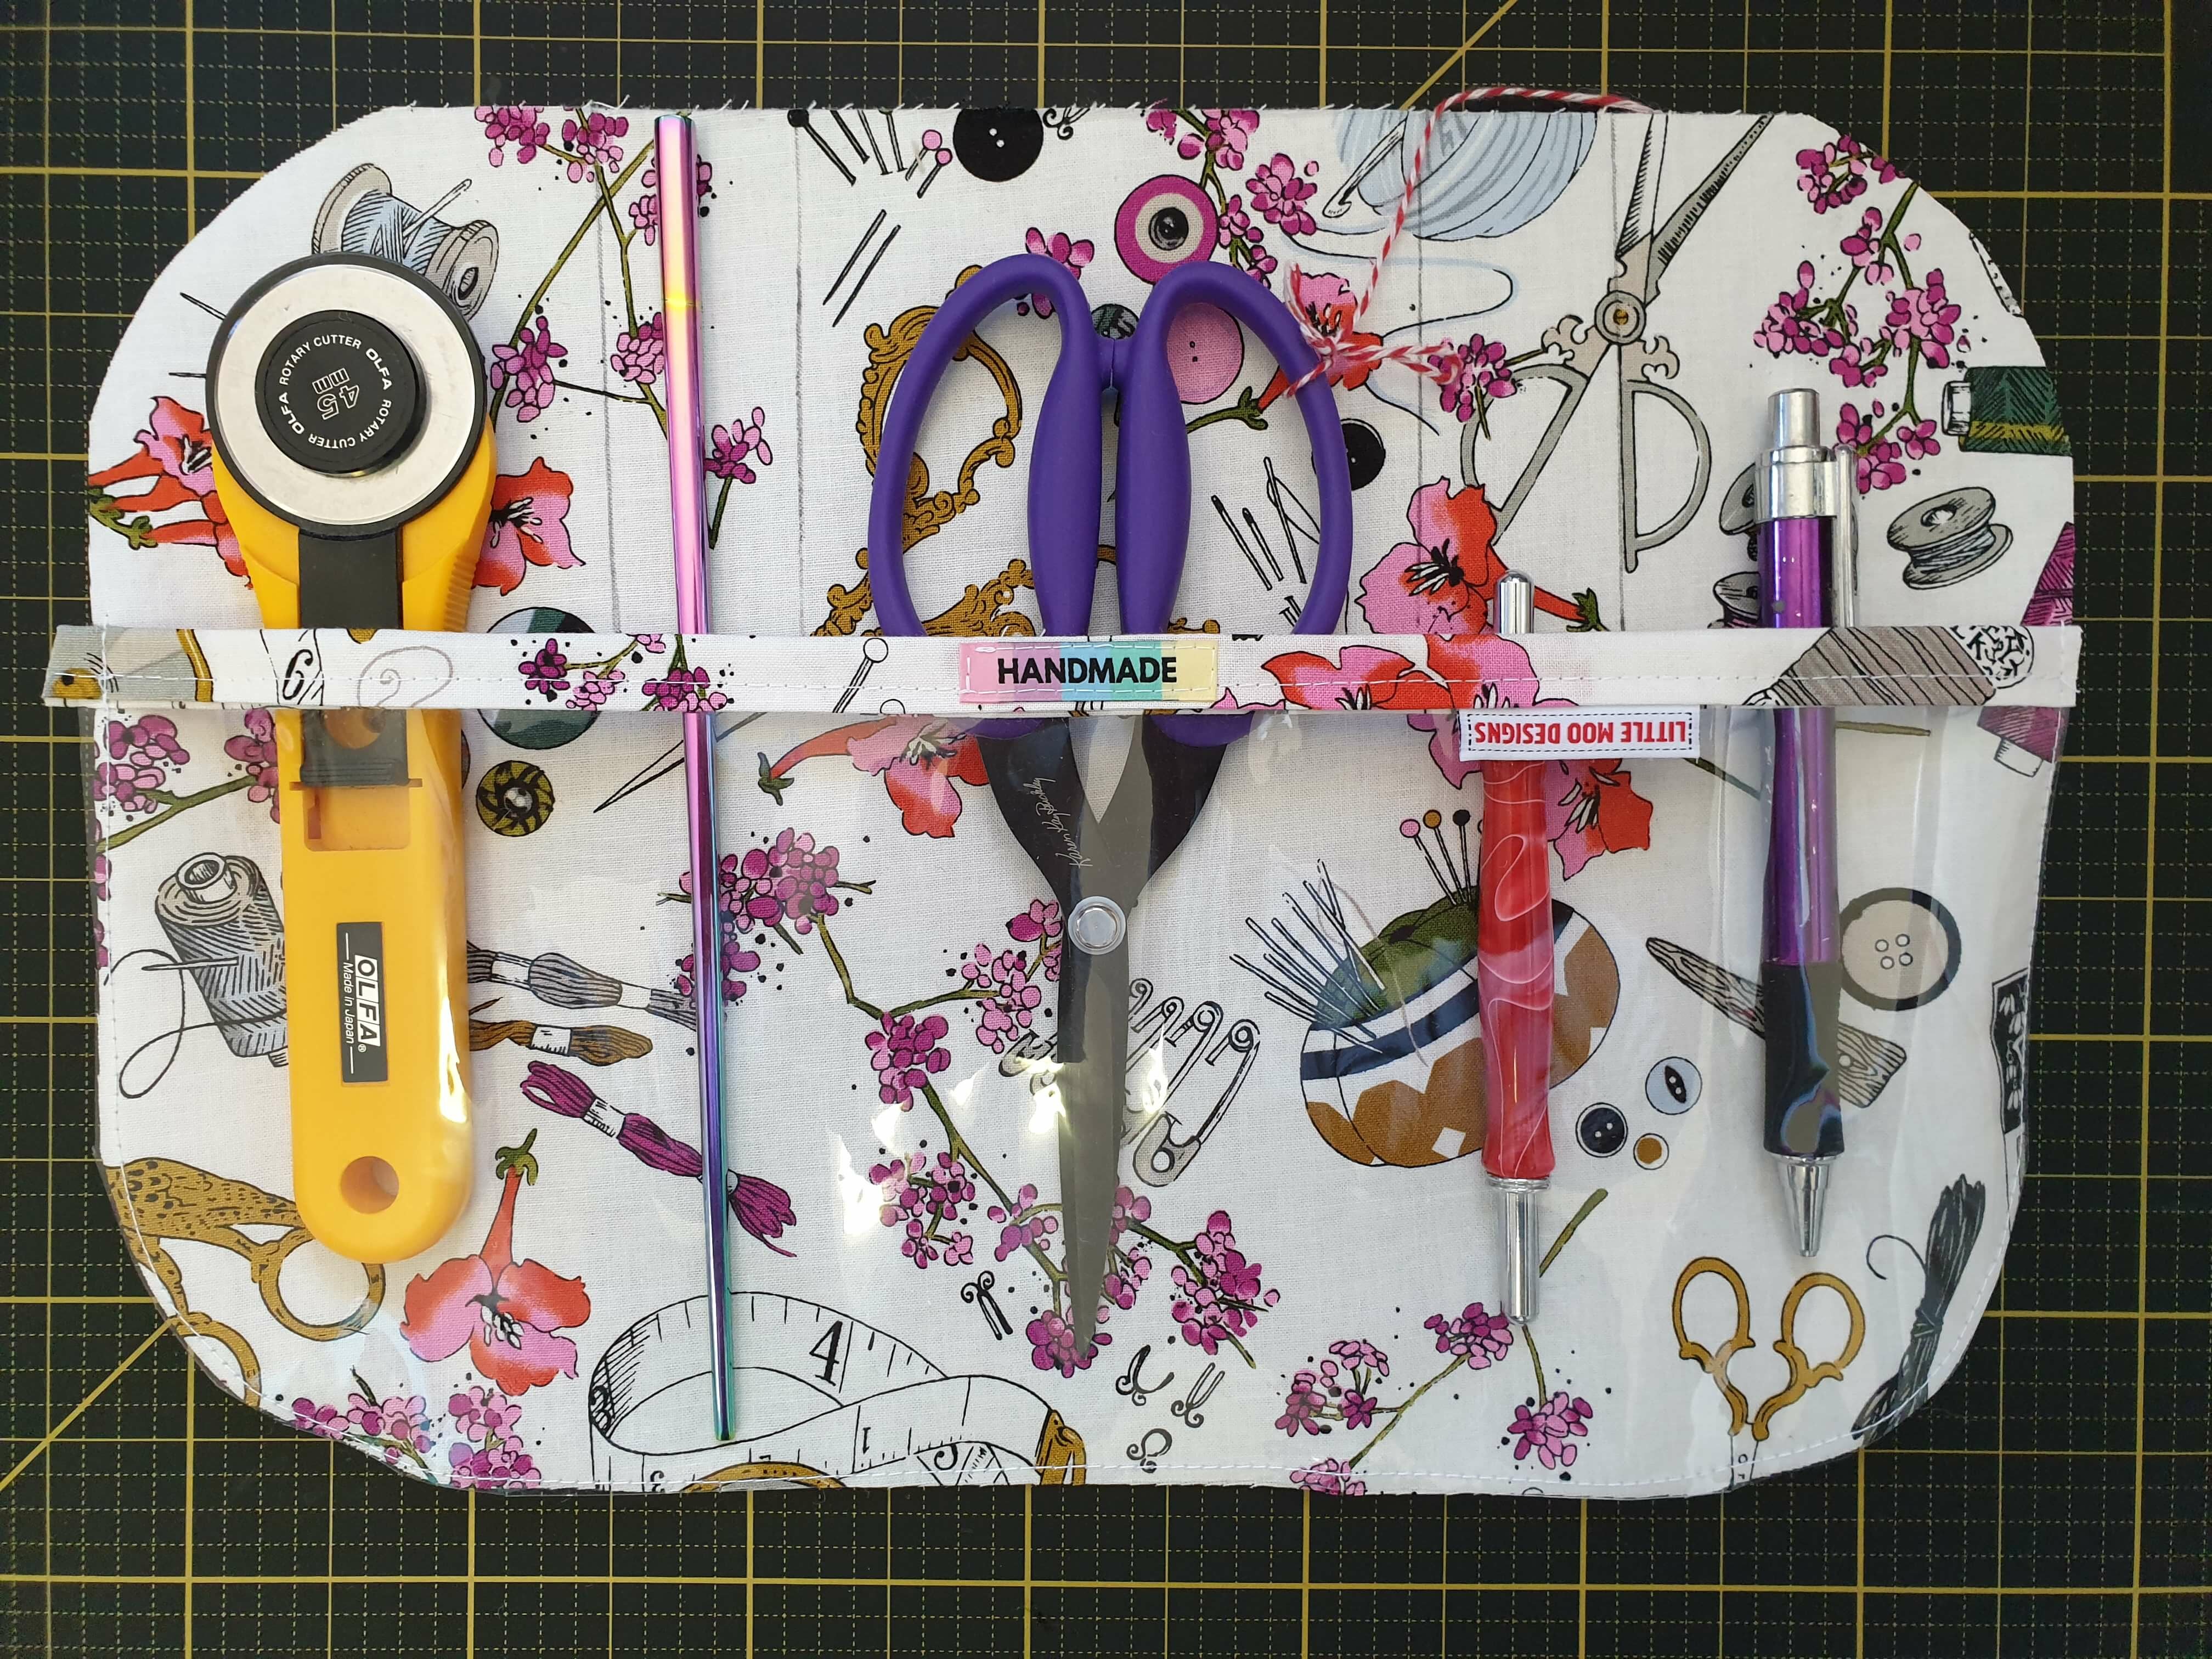
This tri-fold pouch is designed to hold your scissors, rotary cutter, pens and a chopstick (for turning your bags of course!). You could easily change the size though to suit other purposes such as: make up brushes, knitting needles even a nappy wallet!
Supplies:
Fabric (approx. 2 Fat Quarters or grab some scraps), Fusible Fleece 14″ x 10″, Light weight woven interfacing 14″ x 10″, Vinyl/Mesh 6″ x 14″, 1 x double fold bias 14″ long, ribbon or similar to close your burrito 40″-50″ (this may vary depending what you are storing and how big you like your bows), air erasable marker, curved pattern piece from The Maker’s Loot Bag pattern, scissors, wonderclips, ruler and your sewing machine.
Let’s get started!
Step 1: Cut the following:
- 2x fabric (quilters cotton or similar: 14″ Wide x 10″ High
- 1 x fusible fleece: 14″ Wide x 10″ High
- 1 x light weight woven interfacing: 14: Wide x 10″ High
- 1 x vinyl/mesh: 14″ Wide x 6″ High
Step 2.
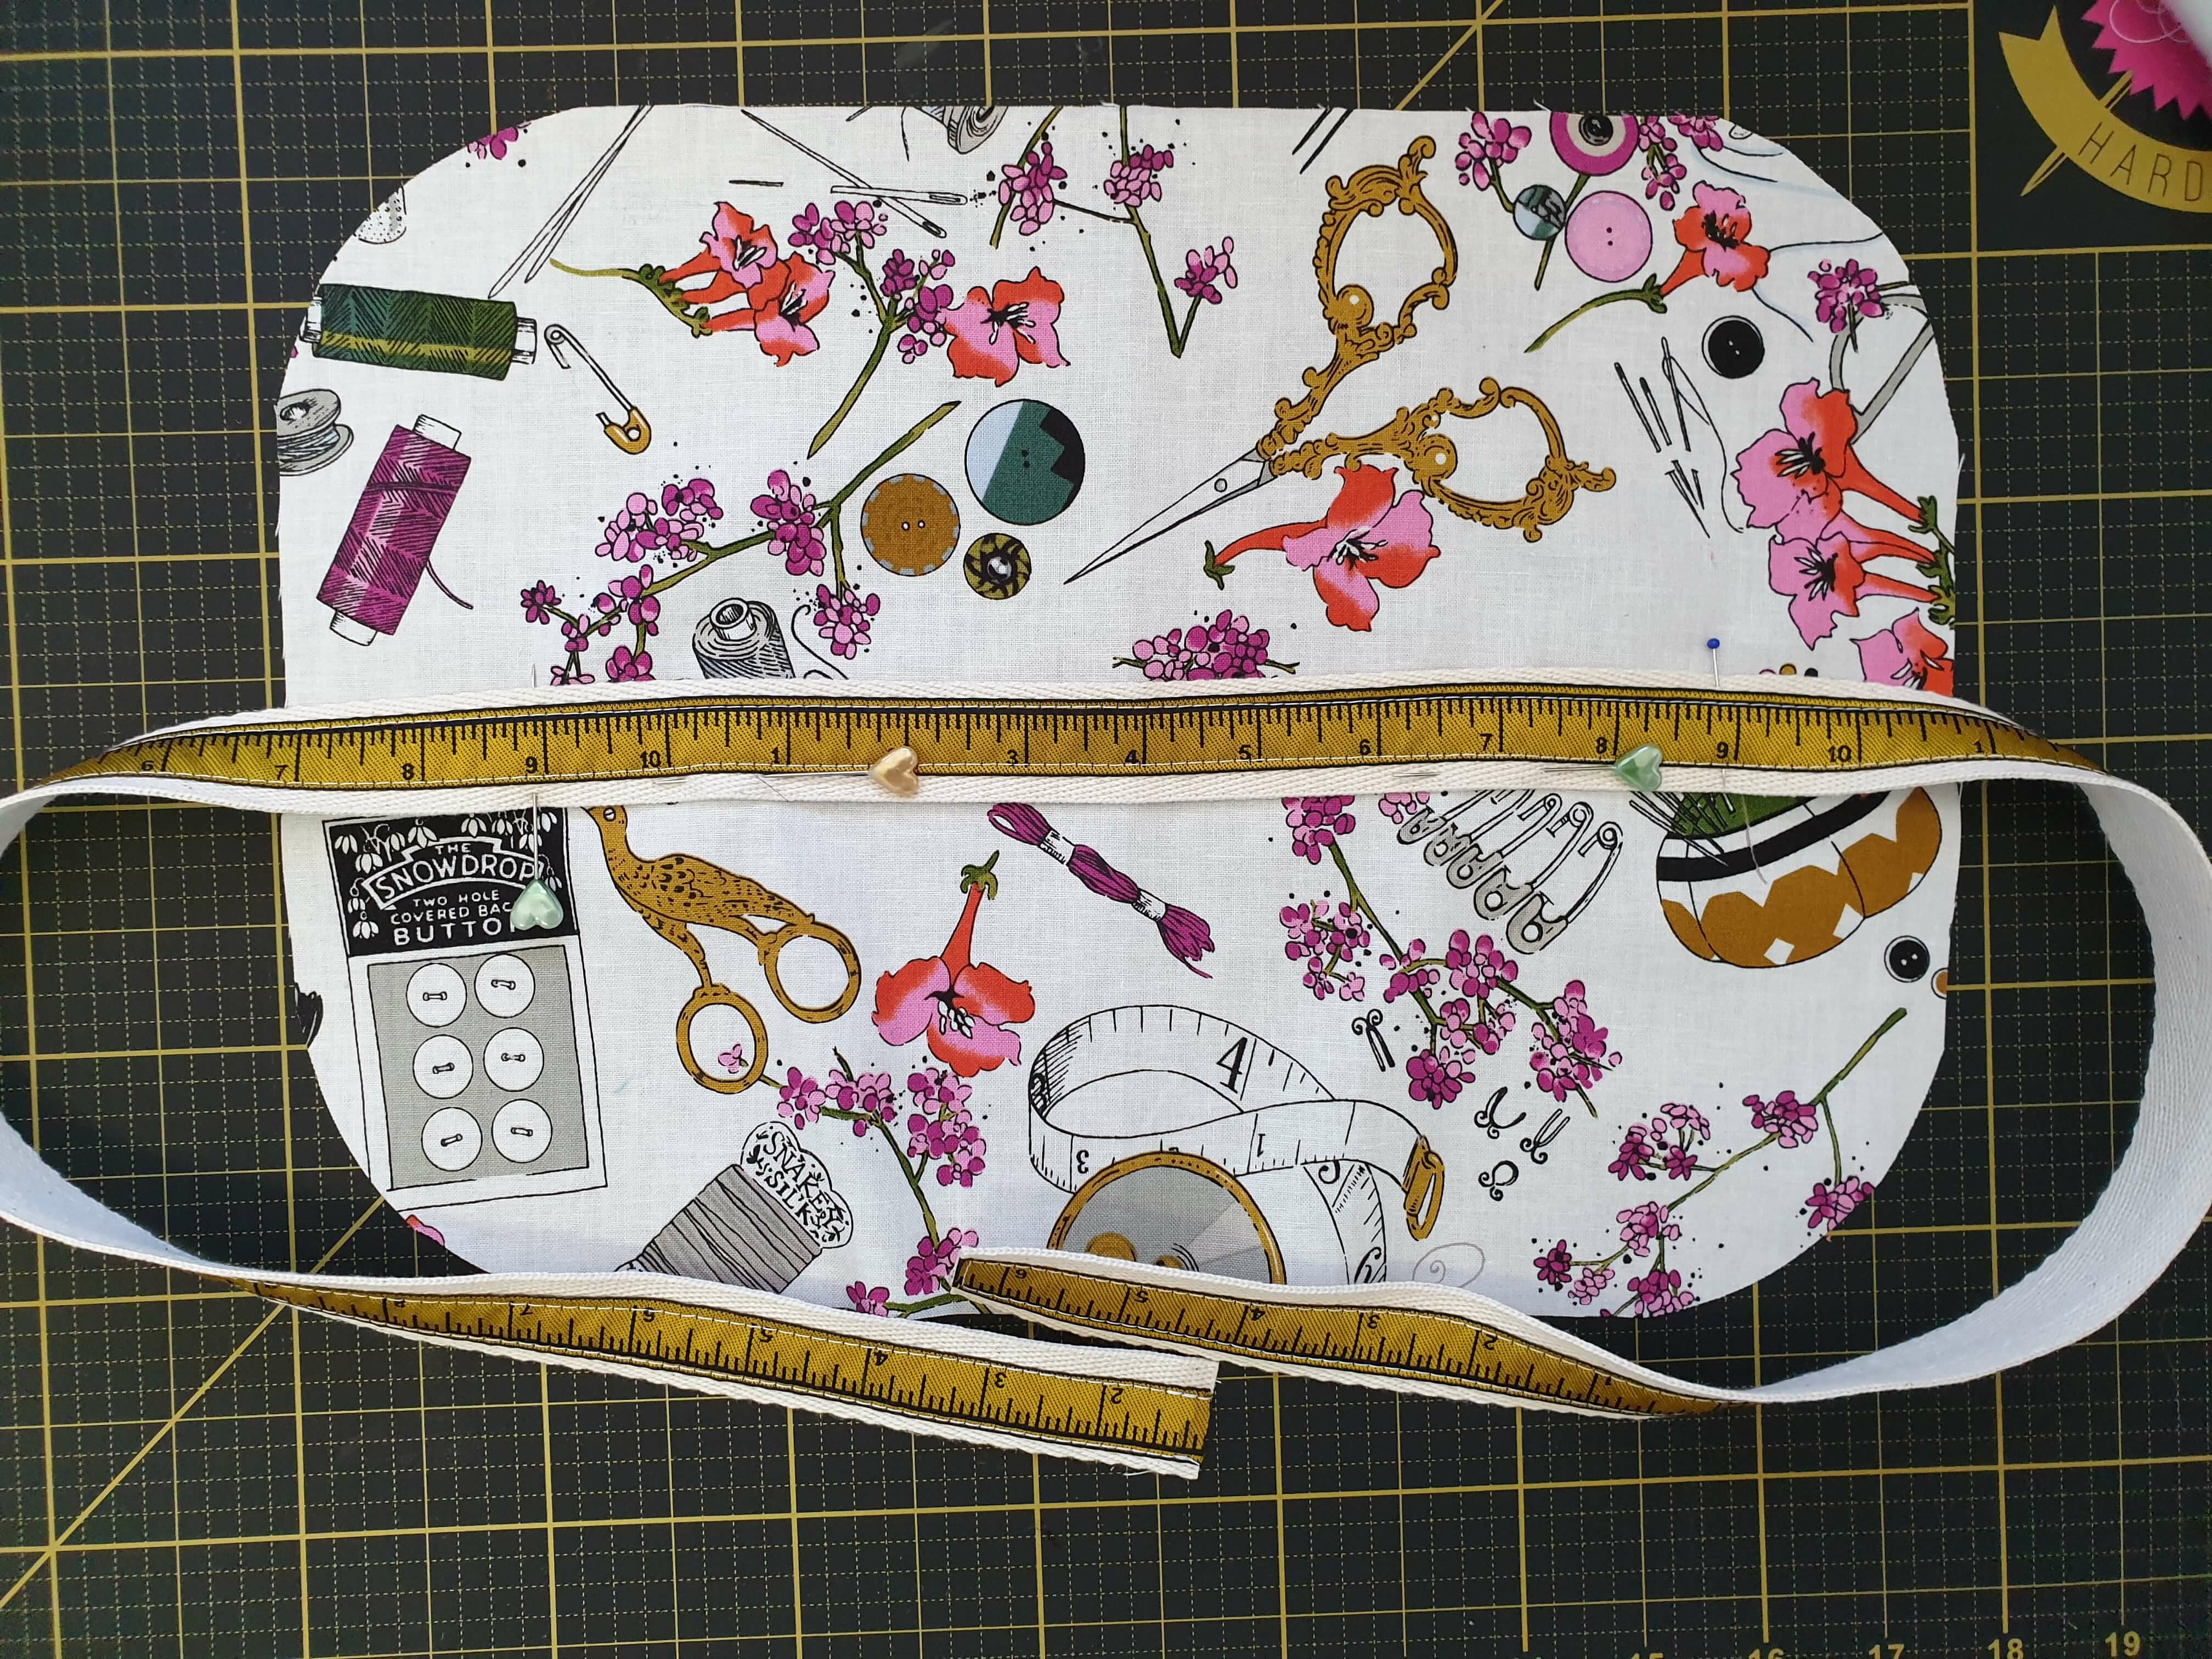
Follow the manufacturer’s instructions and fuse the fusible fleece to the lining fabric and light weight woven interfacing to the exterior fabric. Use the curved pattern piece from The Maker’s Loot Bag and create curved edges on the exterior and lining pieces as pictured.
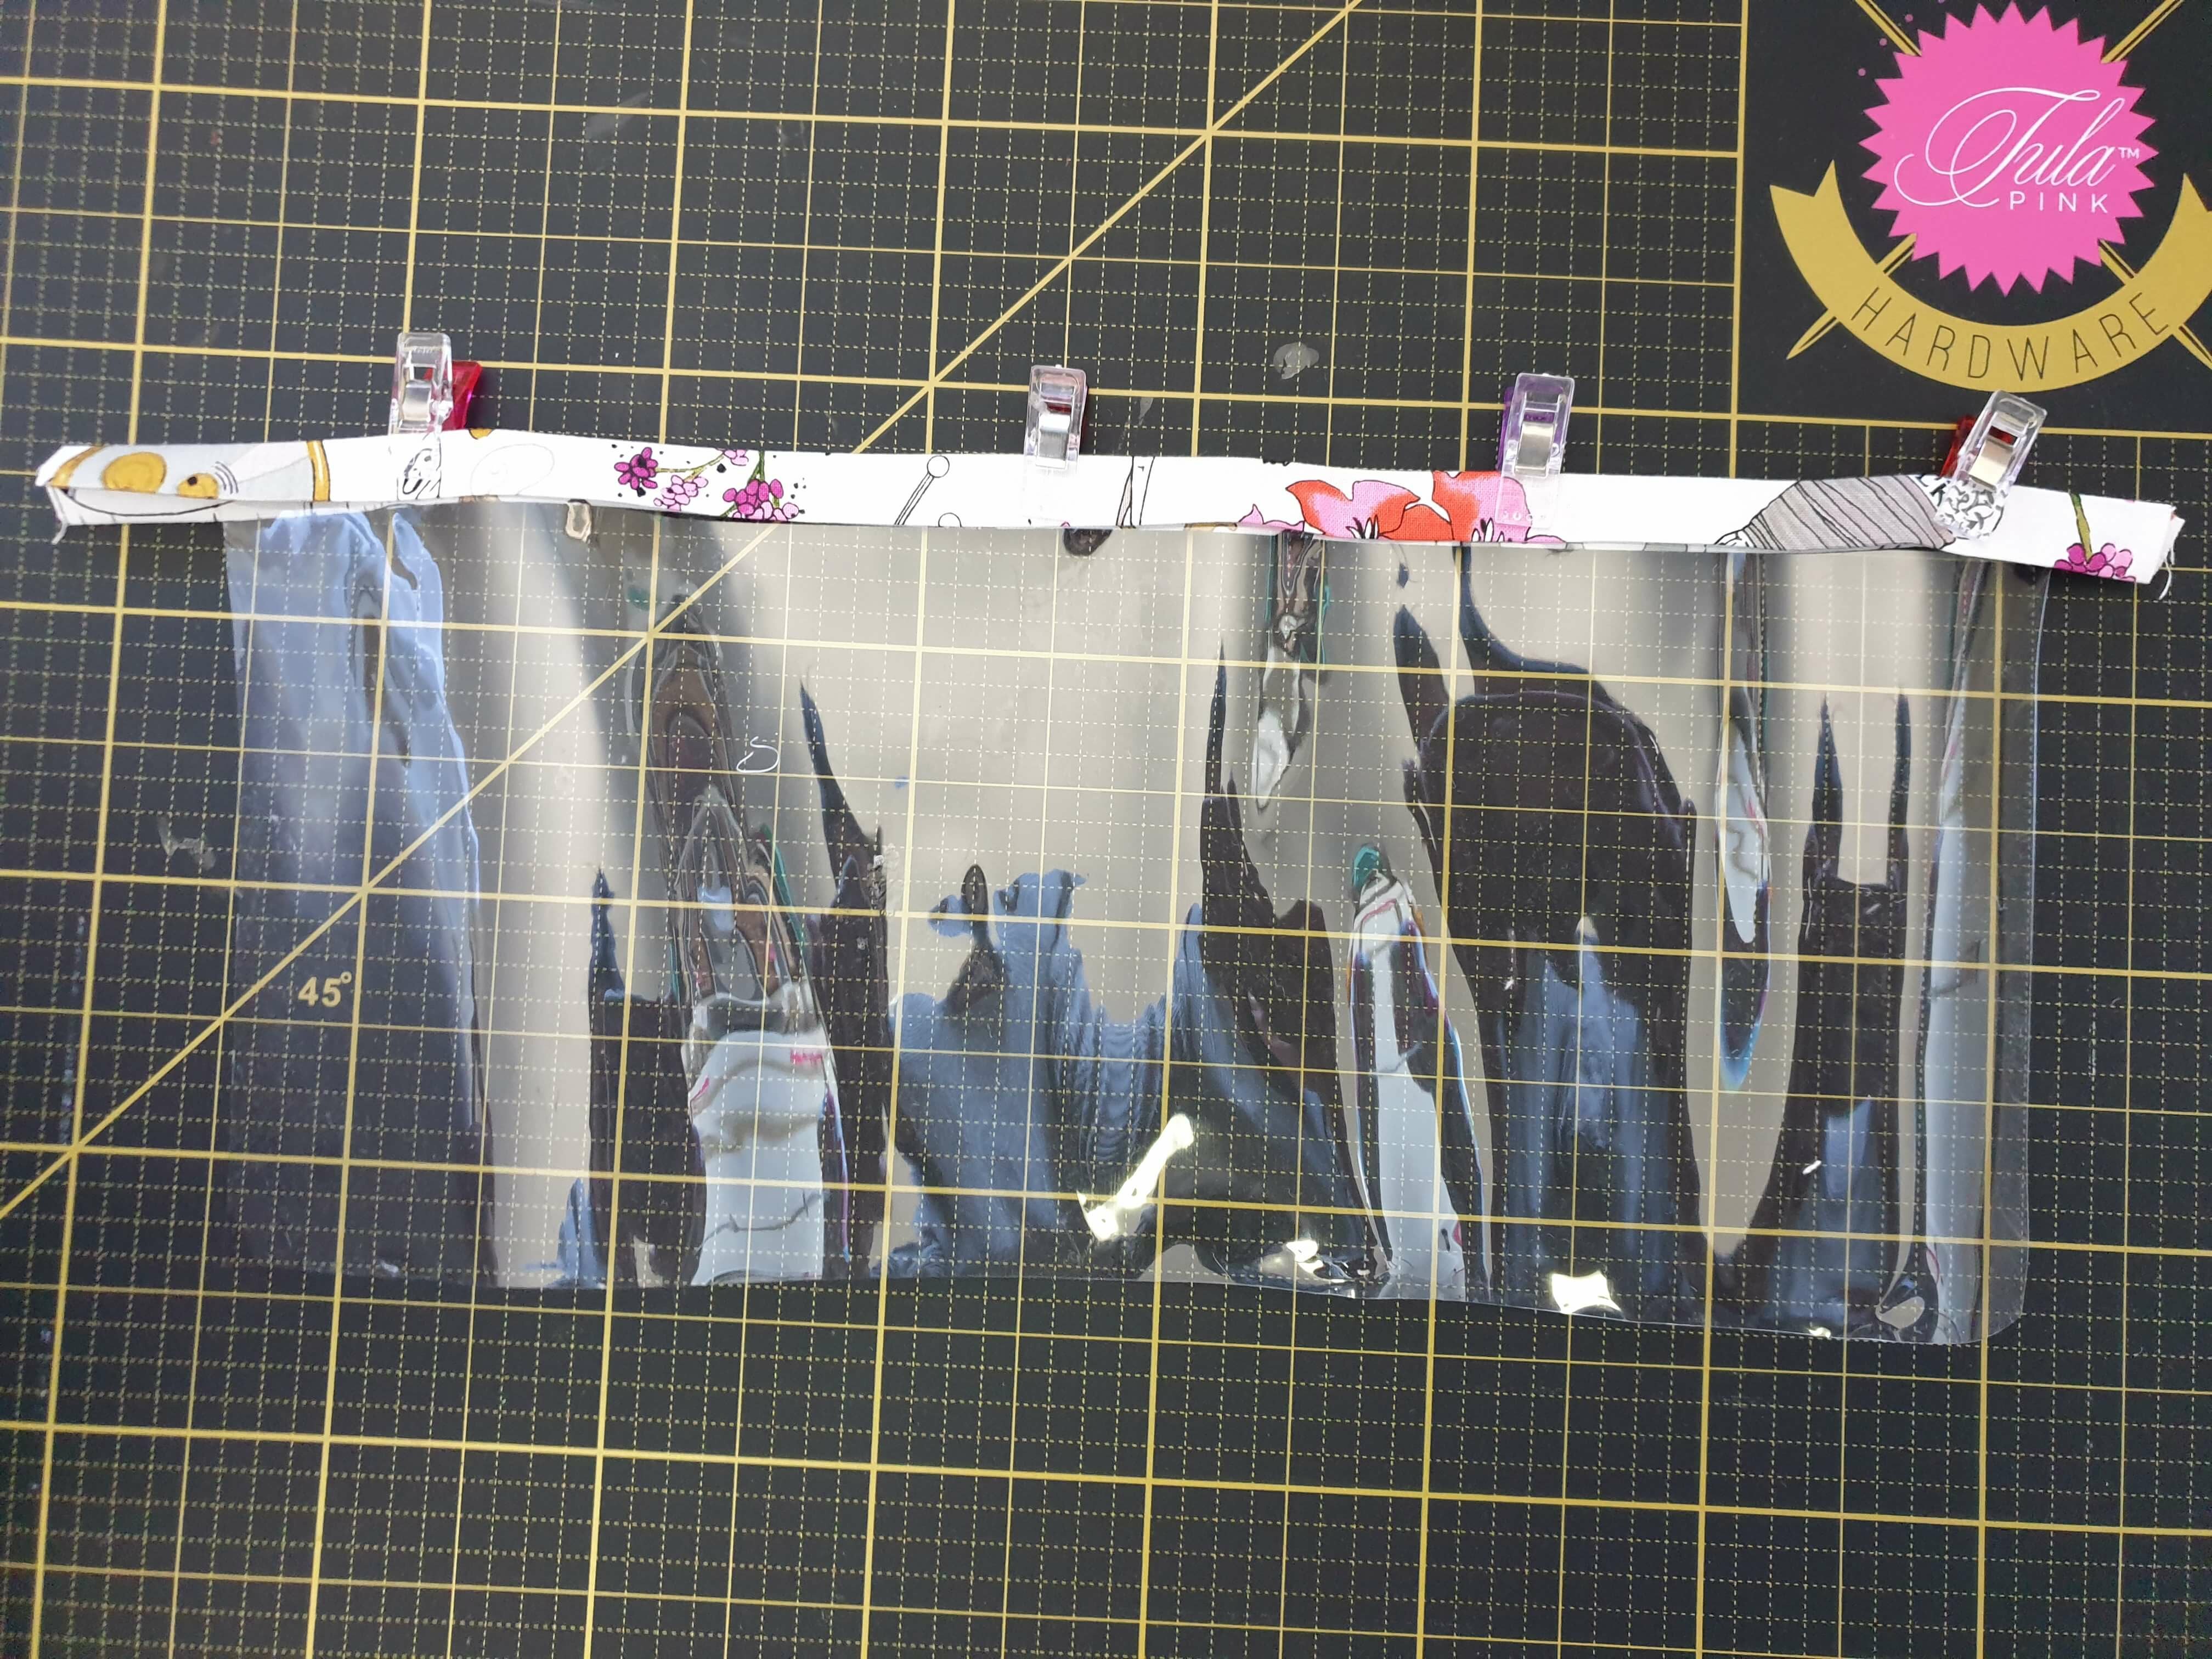
Step 3. Fold the double fold bias in half and iron along the long edge. Sandwich the top edge of the vinyl/mesh inside the double fold bias, hold in place with wonderclips. Sew along the edge of the bias binding using a 1/4″ seam allowance. (You might like to add a second row or stitching for decoration.)
Step 3.
Place the vinyl/mesh on the lining fabric piece, baste in place. Work out what size you would like you pockets to be, I like to lay the items I am storing in my burrito in place as my guide, stitch where you would like your pockets to be. Be mindul that the burrito folds into thirds so where you place your pockets may impact on the ability to fold it neatly.

Step 4.
Take your exterior fabric piece, divide in thirds as you would fold your burrito and mark these lines with an air erasable marker. Centre your ribbon on the middle third of the burrito, stitch in place.
Step 5.
Place the exterior and lining burrito pieces right sides together and hold together with wonderclips, make sure the ribbon is tucked in so you don’t accidentally sew it.
Using a 1/4″ seam allowance, sew the exterior and lining pieces together leaving a 4″ turning gap at the top of the burrito.
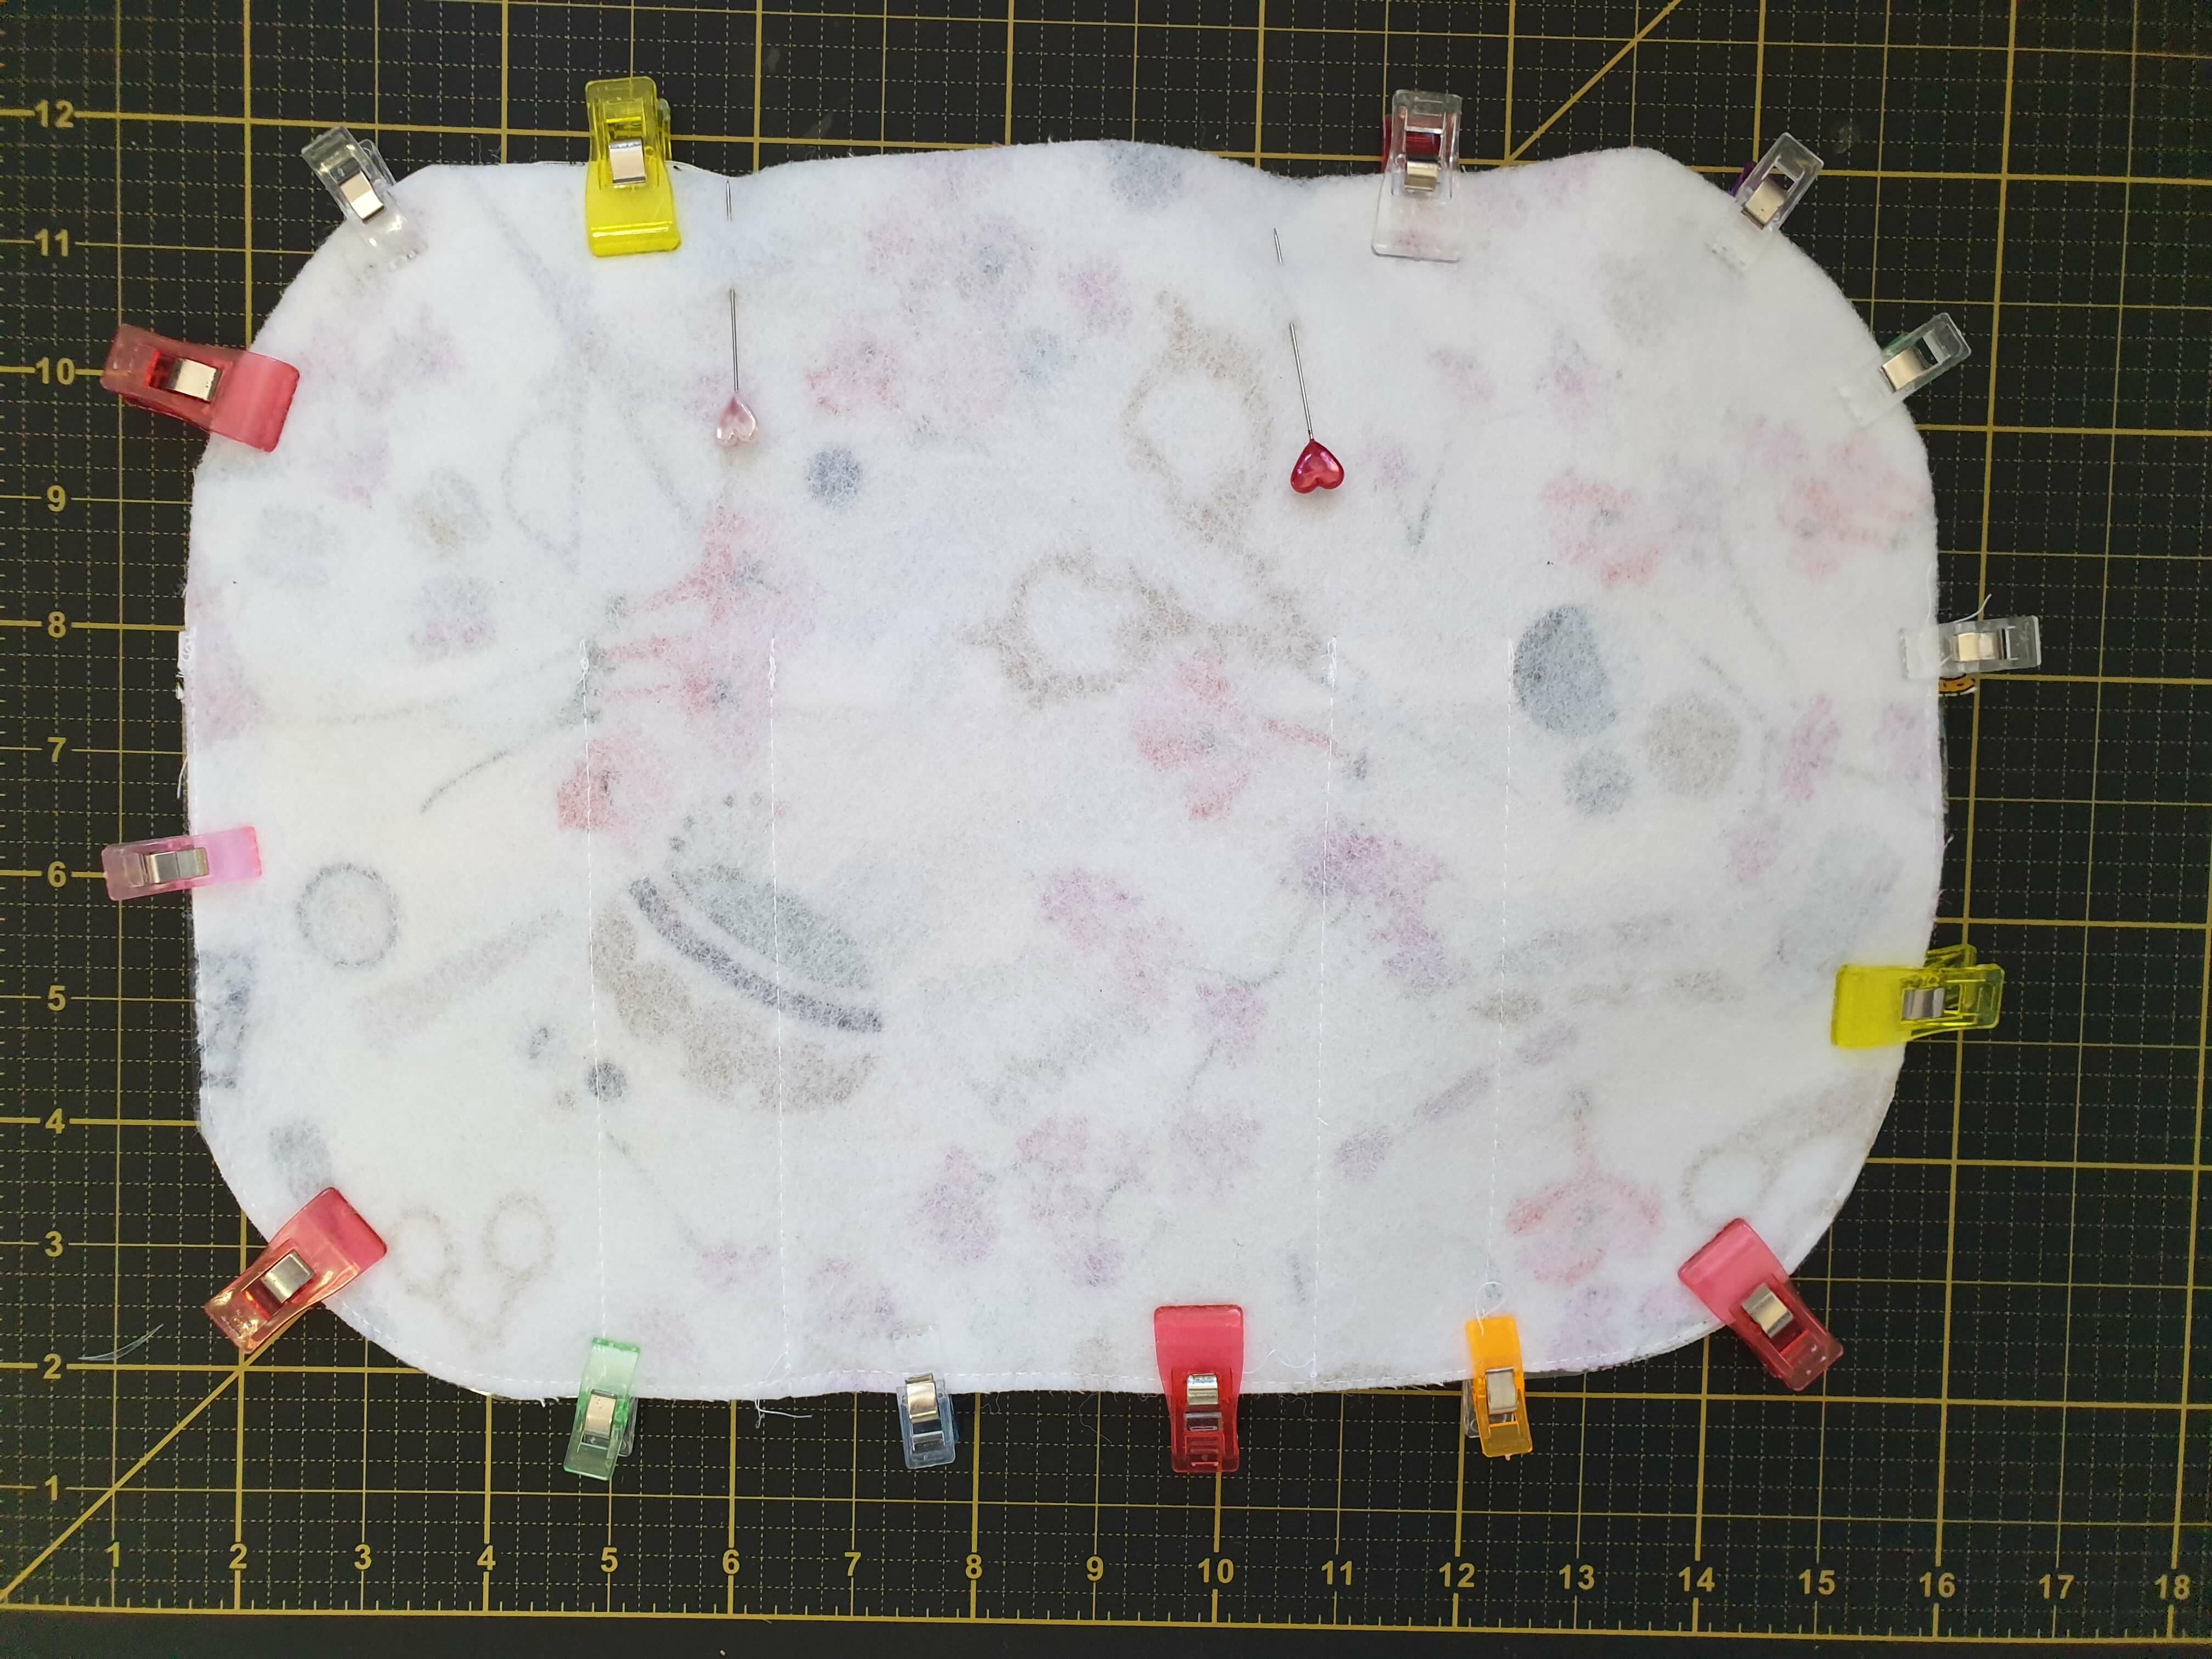
Step 6.
Turn the burrito right side out through the turning gap and press. Use a low heat with vinyl and press from the reverse side otherwise your vinyl/mesh may melt!
Turn the turning gap raw edge in towards the lining.
Topstitch your burrito using a 1/4″ seam allowance/
Add your maker’s tools, fold your burrito up, tie a bow and add her to your Maker’s Loot Bag!
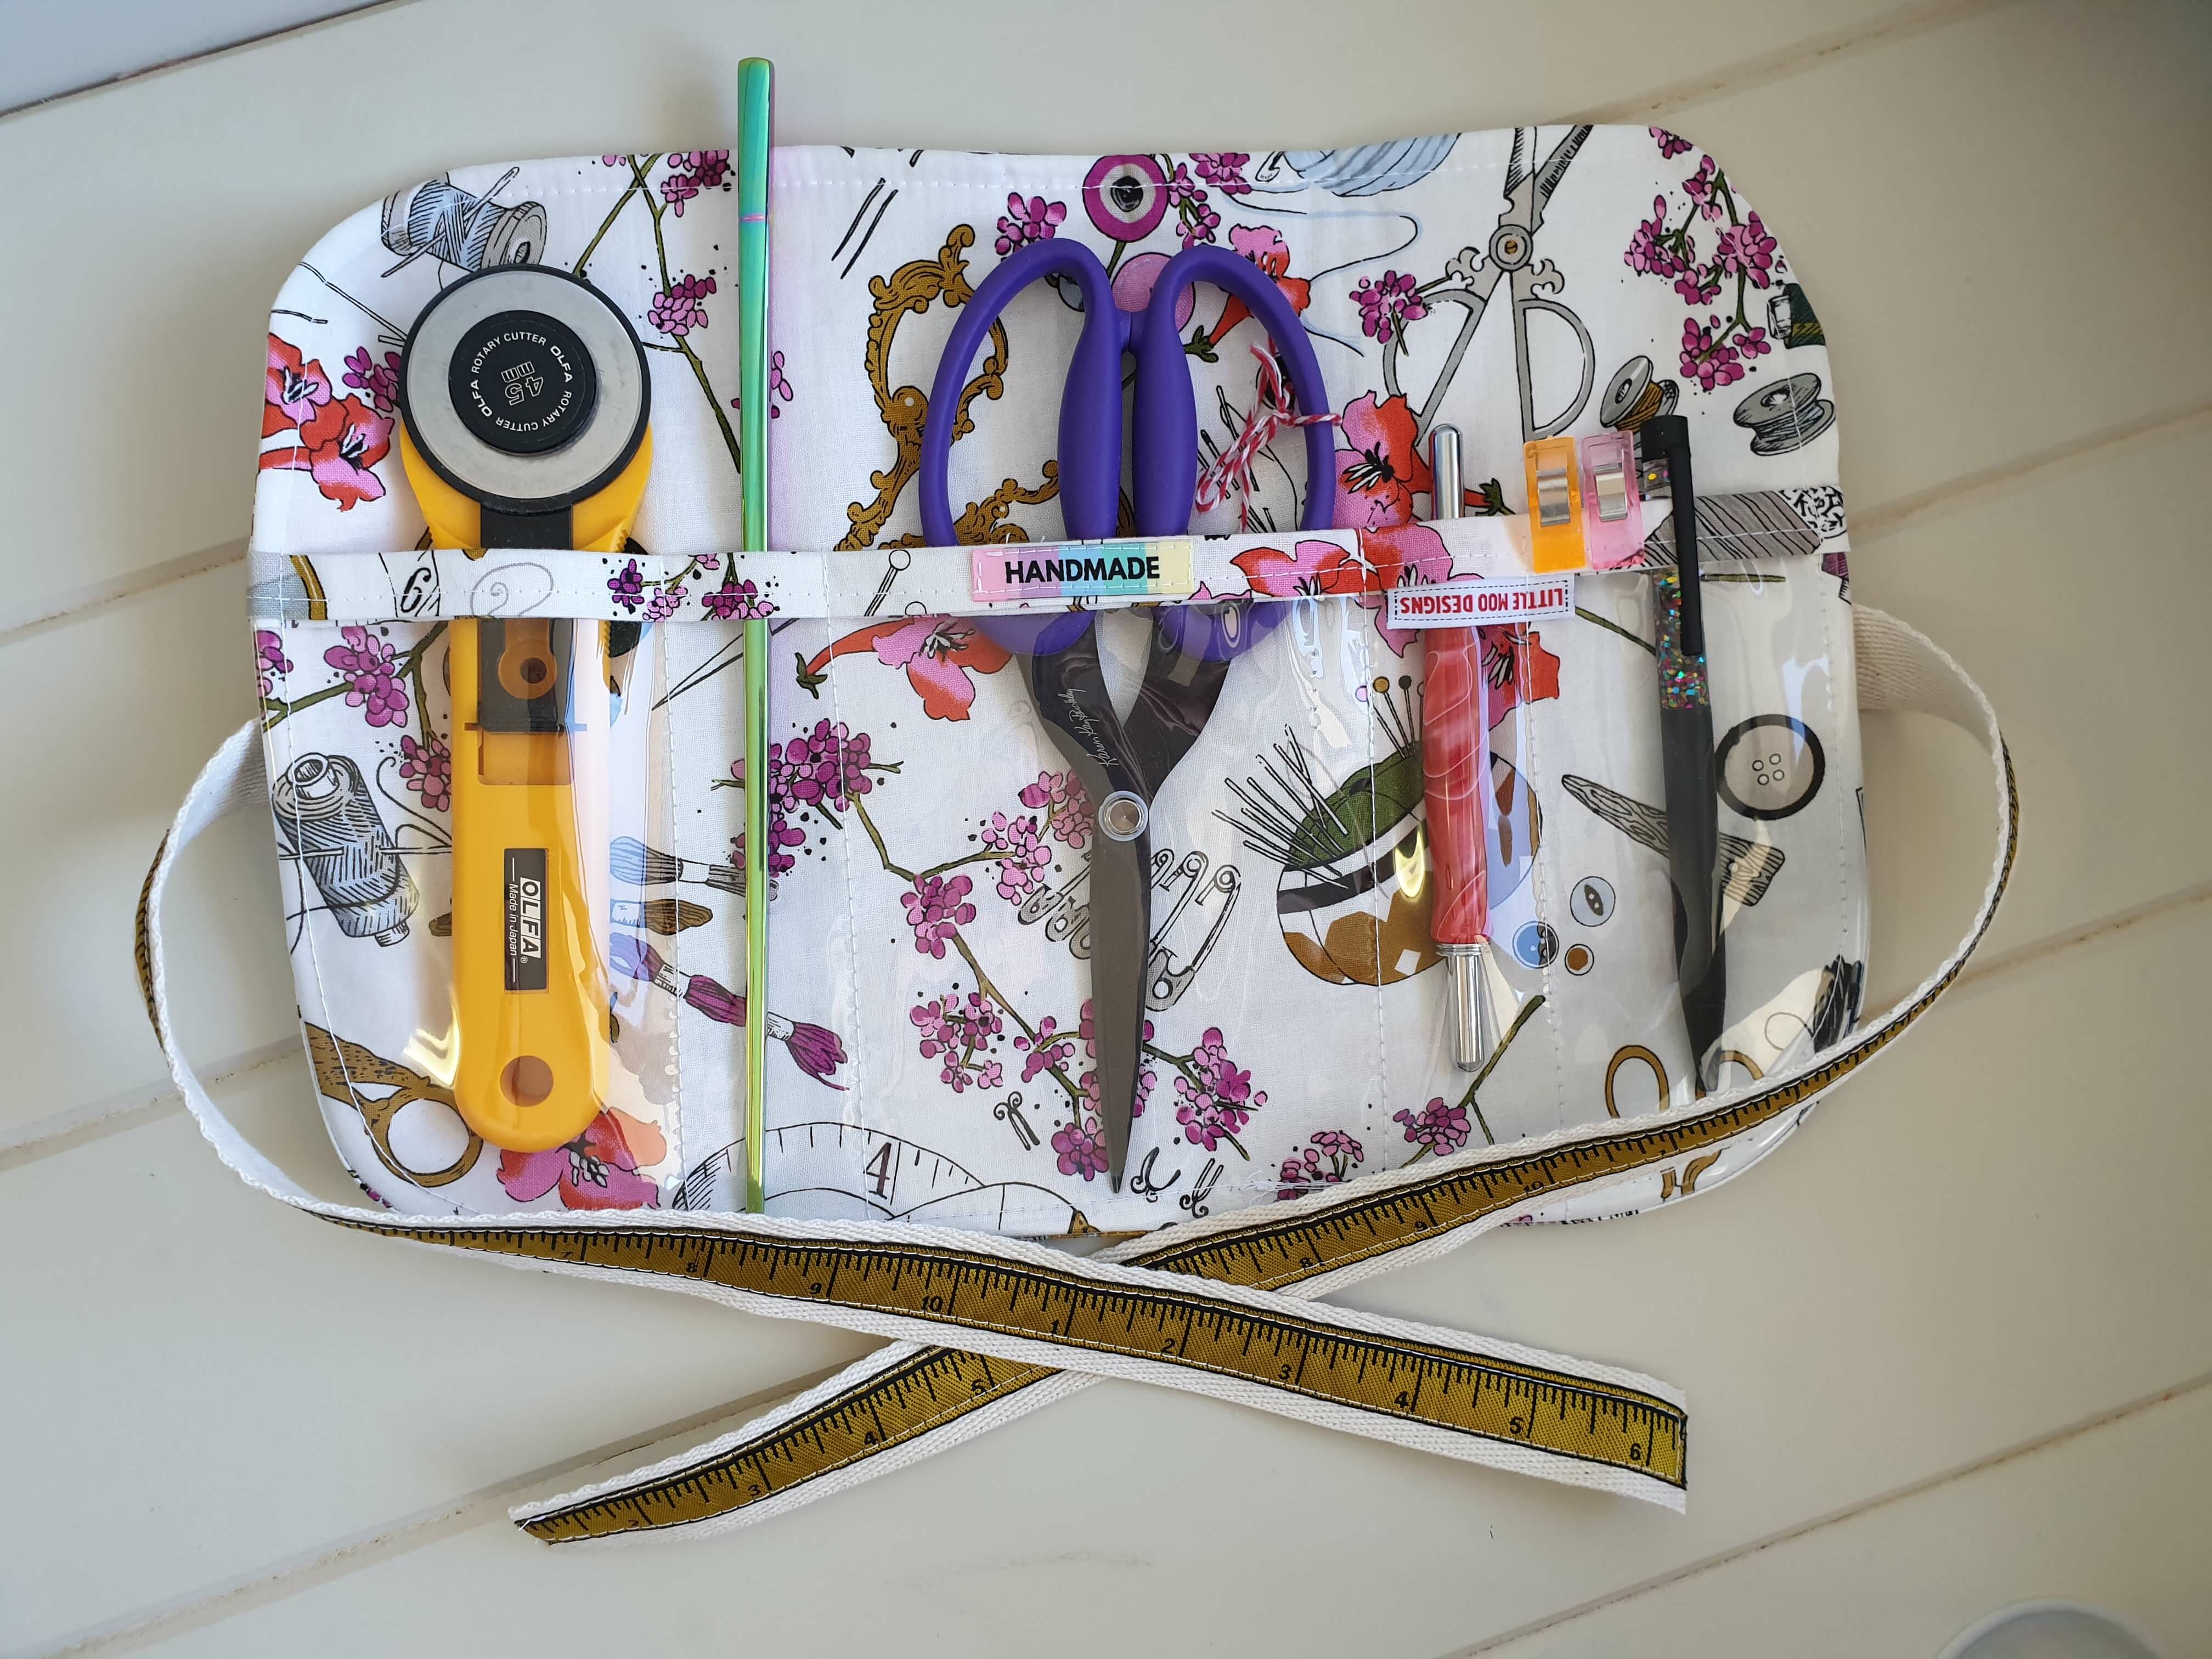
You can check out other Maker’s Burritos on social media by following the #makerslootbag and #makersburrito
I can’t wait to see your Maker’s Burritos!
Happy Sewing.
Kylie. xx
Trackbacks/Pingbacks